
Iknow
I’m far away from Collaboration, but this what happen when you are an Infrastructure Engineering.
So The Virtual Wireless LAN Controller (vWLC) runs on Virtualization infrastructure. it’s ideal for small and mid−size deployments.
Today i will explain The Basic installation of vWLC on ESXi server
First need to download the OVA from Cisco web Site https://software.cisco.com/download/navigator.html?i=!mmd
Choose Virtual Wireless Controller

and Choose the Version that you need

i had old OVA in my PC so i didn’t download anything version 7.3.101
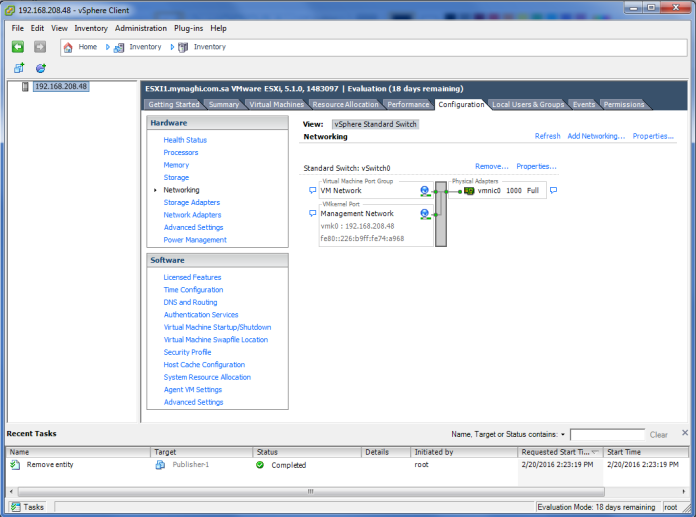
second we need to create two separate VSwitch
my ESXi server IP Address: 192.168.208.48
Select Virtual Machine

Choose the Network Card
this is for Management Interface and for Vlan select ALL(4095) since this is connected to a switch trunk port


Do the Same for Service Port but choose None (0) for VLAN ID as the service port is typically an access port

Now you can see both card

go to properties of the vSwitch1 were WLC is there and go to Security Tab and for Promiscuous Mode choose to Accept

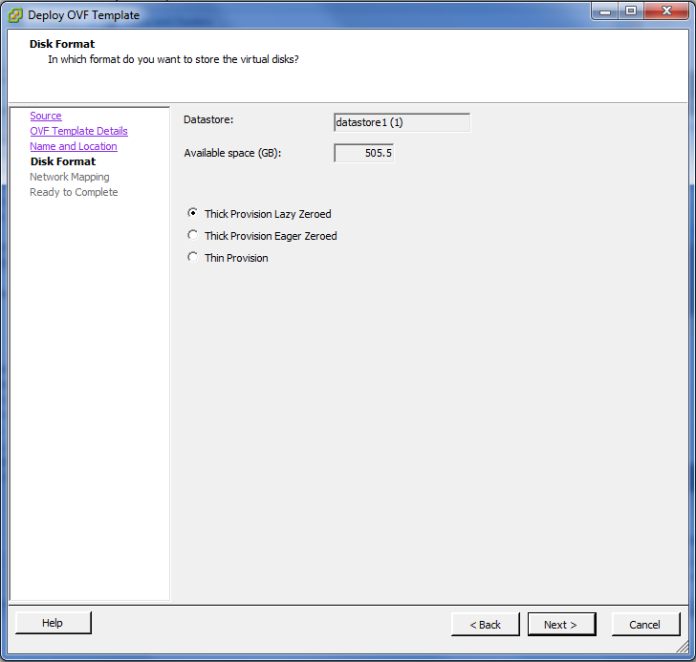
Now start Deploy the OVA Template

Navigate to the Folder were i have my OVA

Next

Choose a Name for your Machine

Choose the Default Thick Provision Lazy Zeroed
Here Choose WLC were your NIC Card Configured for Management

Accept

Now the Machine is been created

for the first network Adapter just select the Service Port 
Now Power the Machine for the setup and monitor the Monitor till the vWLC has restarted Automatically
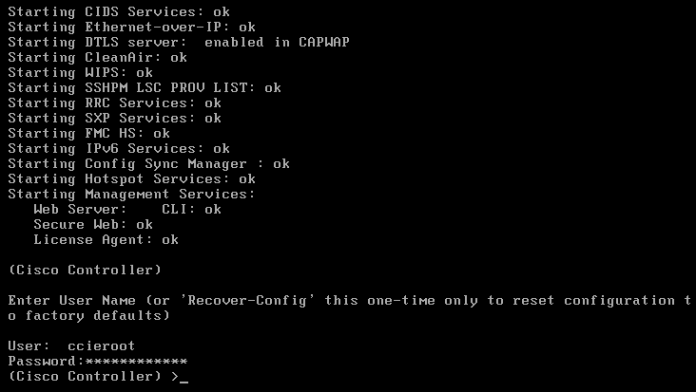
then Start the Welcome Cisco Wizard
Choose you admin name
IP Address for Service & Management and DHCP

Also Choose the Virtual Gateway IP Address and Define your Mobility Group and NTP
if YES in Capital Letter you don’t need to write it cause its the default then you just need to Pres Enter
Now it Ask you to Save

Now it will Reload
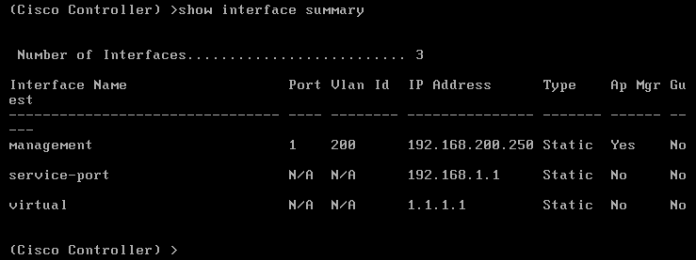
you can check your IP Configuration after login by using the Command
“Show Interface Summary”
in the Web Page enter the IP Address that you Choose
HTTPS://192.168.200.250
Press Login and it will ask you for Username and Password
The First thing you will Notice that
0 Access Point Supported so we need to activate the Evaluation License
Go to Management Tab and Choose Software Activation then License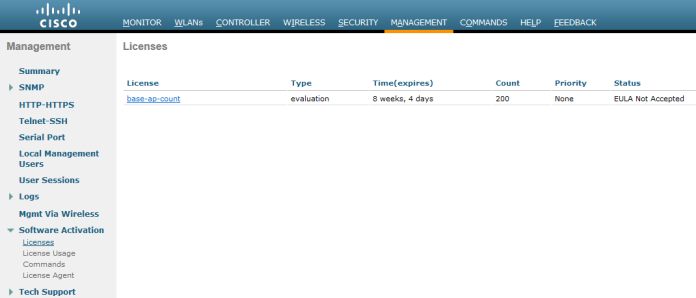
Open the base-ap-count and set the Priority to HIGH
Accept the (EULA)

and Reboot so it will be Activated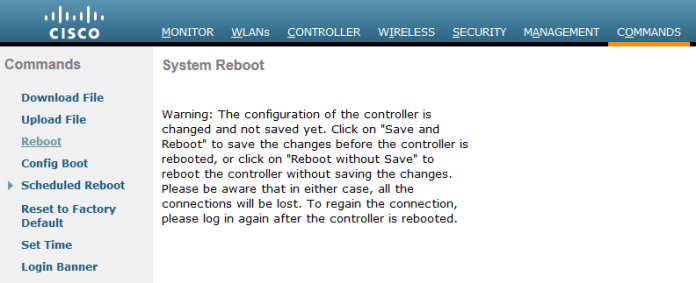
Now you can see the Different
200 Access point Supported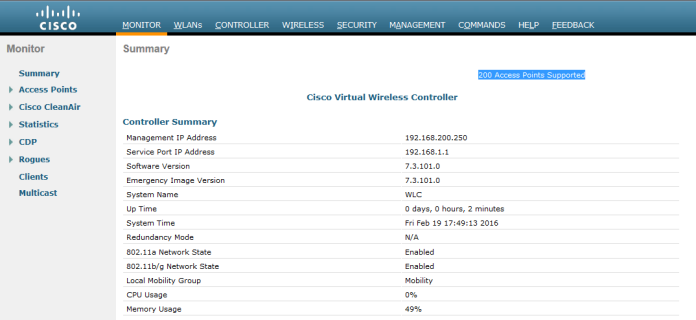
Also you can check the Licenses base-ap-count status

Now go to WLAN Tab and you can see the SSID Wireless that we Create in the Welcome Wizard but I will Create a New SSID from the option in the right corner
Create New Press the GO Button

Choose the Profile Name and SSID

Check Mark the Status box to enable

since this is a Lab we don’t need to put any Security so i choose None

Now lets Create an Interface
go to Controller Tab then Interfaces Create New

Choose Interface Name and Choose the VLAN ID

Now enter the full detail for the Vlan
VLAN Identifier
IP Addresses
and DHCP Address

Now I create Groups and assign the AP to a specific Group were it Broadcast specific wireless. we only have one and all SSID is under the Default Group but we will create a New one
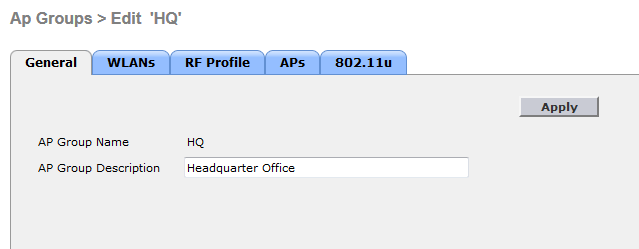
Go Back to WLANs Tab then Advanced – AP Group – Create New
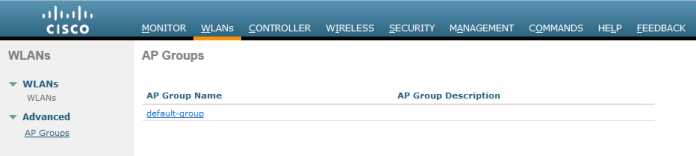
Give it a Name and a Description

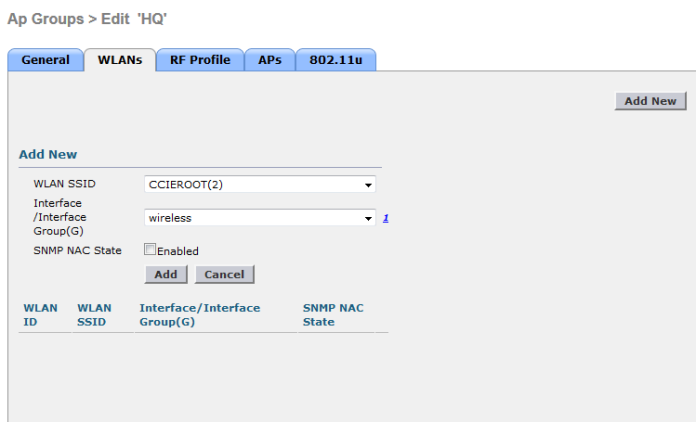
Assign an SSID and Map it to an Interface and Save
Now Start the Action with my Lab Access Point 1242AG
i know its old but old is gold so 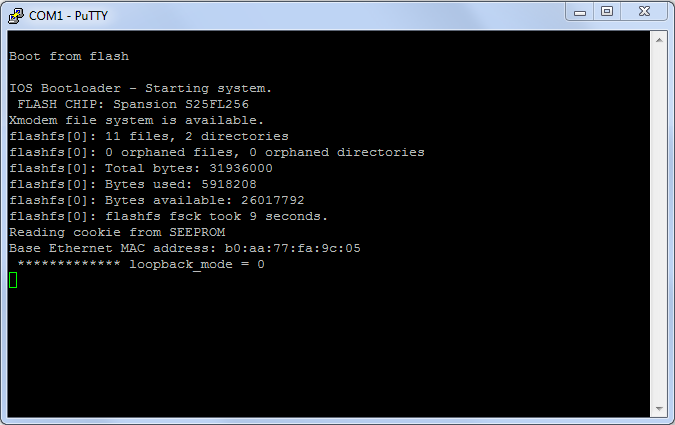
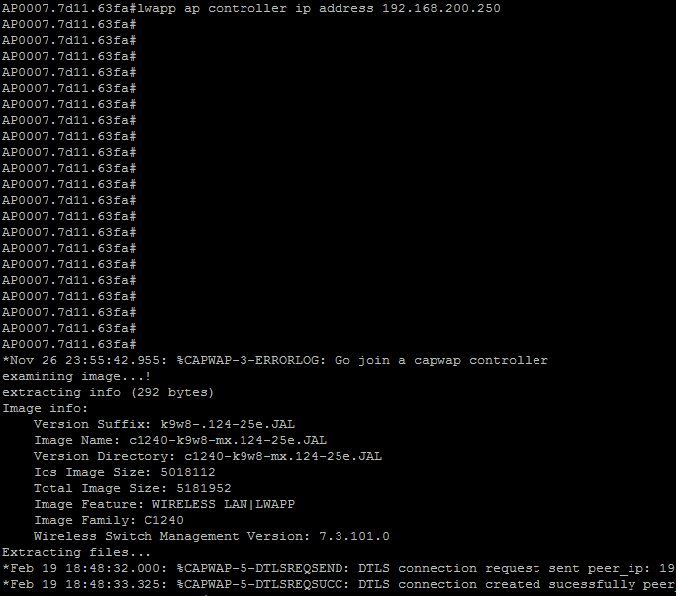
I didn’t configure any DHCP Option for my WLC so i will use my magic Command to direct my AP to the controller
>lwapp ap controller ip address 192.168.200.250
and as you can see the Wireless start send request to the WLC and going to Download the firmware
Now under Wireless Tab i can see my Access Point i will change the AP Mode to FlexConnect since this is the mode supported by vWLC
go to High Availability Tab and Enter the Controller name and IP Address

in Advanced Tab Choose the AP Group Name and change it to HQ group then Apply the wireless should reload and start to broadcast our SSID CCIEROOT
AND HOLLA NOW I’M CONNECTED

i can go to Monitor tab in WLC and check the Client Summary
Click on Detail to See the Client
and those my IPhone Mac Address and My Dell Laptop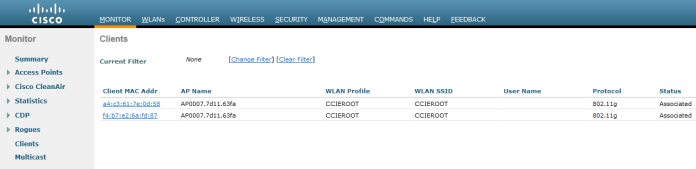
Done ;D

Thanks man, that is good information, keep it up that’s gonna be helpful.
LikeLike
Pingback: Cisco Hybrid HomeLab – Cisco Home Labs
Pingback: Configuring Cisco vWLC On ESXI 6.5 – Cisco Home Labs
Thanks so much
im so happy i was in so much help
LikeLike
Thanks for the great info.
LikeLike
you so welcome my dear
LikeLike
could we install on laptop and have one NIC ?
LikeLike
I didn’t try it so sorry 😐 I can’t say anything about it
LikeLike