6.0

VMware vMotion Cross vCenter 6.0

This is one of the most amazing feature introduced in vSphere 6.0 that allows virtual machines (VMs) to switch from one vCenter Server instance to another

Traditional VMware vMotion is the feature to allow users to move virtual machine to another host managed by the same vCenter, but Cross vSwitch vMotion basically allows you to migrate virtual machines between different vSwitches. Not just from vSS to vSS but also from vSS to vDS and vDS to vDS.

Note:
that vDS to vSS is not supported. This is because when migrating from vDS metadata of the VM is transferred as well and the vSwitch does not have this logic and cannot handle the metadata.

so in the previous blog we did ELM (Enhanced Linked Mode) which is requirement for vMotion Cross vCenter and that mean (Shared SSO domains) and another requirement is Enterprise Plus license. Both vCenter Server instances must be time-synchronized and last thing For migration of compute resources only, both vCenter Server instances must be connected to the shared virtual machine storage.

Note: in case you didnt match the VM requirement you can use app such as (Vinchin Backup & Recovery)

there is a network port requirement but i connected both machine in my lab to the same network so no need for them but you can check them in the VMware website
Screenshot 2023-12-27 114416

so Lets start
Go to vCenter Home page > Host and Clusters1
Expand vCenter > Cluster > Host > manage > Networking > VMKernel adapter > select the network card
2
Enable the port properties > select vMotion traffic
i used the same interface as the management traffic since i don’t have many network card
3
Repeat the same steps in the other vCenter

Migration Steps
Now i will move my VM from host (192.168.208.210) to (192.168.208.209)
Expand the cluster > expand the host > right-click the VM you would like to migrate4
Select Change both computer resource and storage > Select Compute resource first5
Now select the destination host (192.168.208.209)6
Now select the storage7
Then i will select the Datacenter-VC18
and finally i will select the Network Adapter9
Note:
that the IP Address of the VM that you are migrating will not magically change, so you will need to make sure both the source and the destination Port-group belong to the same layer 2 network.

Next thing select to the schedule the vMotion10
and last thing click finish11
now as you can see it move the VM12
and Done finally 😀14

Note:

  • this feature for instance Datacenter Migrations or when you are moving VMs between clusters for instance or are migrating to a new vCenter instance even and You can even do it without having a shared datastore between the source and destination vCenter
  • Advanced Cross vCenter vMotion, introduced in vSphere 7.0 U1c, is only supported between vSphere (vCenter and ESXi) versions 6.5 or greater. The source vCenter must run vCenter 7.0 U1c or later.
Standard
6.0, VMware

VMware 6.0 Configuring vCenter Server ELM (Enhanced Linked Mode)

Hello Again

I show you in earlier blog how to configure Linked mode for VMware 5.5  As a result of these architectural changes, Platform Services Controllers can be linked together. Previously, vCenter Linked Mode was only available for Windows vCenters.

Until the release of vSphere 6.0, the new vCenter Enhanced Linked Mode (ELM) can connect multiple vCenter Servers (both vCenter Servers running on Windows and vCenter Server Appliances) by using one or more Platform Services Controllers.
vSphere 6.0, Platform Services Controller (PSC) was introduced as Embedded PSC for single vCenter Server and External PSC to manage multiple vCenter Servers.

the limitations for Linked Mode with external or embedded PSCs are different:

  • For vCenter Servers deployments with external PSCs, you can join up to 10 external PSCs and 15 vCenter Server systems in a single SSO domain.
  • For vCenter Servers with an embedded PSC, you can join up 15 nodes in one SSO domain.

You can also migrate virtual machines across clusters on separate vCenter instances

so let’s go
This is my Single Sign-on Machine

2
i will run the VMware CD3
Click Install vCenter Server for Windows4
Click YES
5
Press Next
6
Check the box
I Accept the term of the license agreement7
I choose (Platform Service Controller)8
i put the Machine FQDN9
then i click OK
10
put the domain name, vCenter admin and password and default site name as this is a new SSO11
Leave the port to it default
12
Press Next
13
again Next
14
now click Install
15
it will take couple of minute
16
Press Finish
17
you can go to Program and software and you will fins the software installed on the machine
(platform Service Controller)
18

Now lets go to my First vCenter (VC1-CCIEROOT) 19
Lets start the installation same way20
Click Next
21
Accept the agreement and Click Next22
this time choose Deployment type as (vCenter Server)
1
Specify the SSO Server FQDN name or IP Address and the SSO Administrator credentials (administrator@vsphere.local ) which will be the same system running your vCenter SSO service (192.168.200.250)2
Make sure that all vCenter Servers in a Linked Mode group are registered to the same vCenter Single Sign On server.

Click OK to accept the SSO Certificate
3
choose to use the Windows Local Account and Click Next4
Again Accept the default value and Click Next5
and again accept the default value for ports and Click Next6
Click Next 😀

7
and Finally Install
8
And Finish
11
you can see the software (vCenter Server with an External PSC)30
Repeat the same Steps with VC2-CCIEROOT

Now to check your configuration go and browse to any of vCenter IP Address
60
Accept the Certificate
61
Login using the Administrator account62
in the dashboard go to Hosts and Clusters26
you can see in the right side both vCenter27
Once selected the vCenter you can see the detail of it under the Manage > Settings > General28
and the same for the second vCenter29

Note:

  • A single vCenter can manage 300 ESXi host with 3000 virtual machines, while using linked mode can manage 1000 ESXi hosts with 10000 virtual machines. 
  • You can create a vCenter Enhanced Linked Mode group only during the deployment of vCenter Server Appliance or installation of vCenter Server. You cannot create a vCenter Enhanced Linked Mode group after you install vCenter Server or after you deploy the vCenter Server Appliance.
  • from vSphere 6.5 U2 and vSphere 6.7 onwards, External PSC has been deprecated, Embedded PSC is recommended to manage multiple vCenter Servers and deploy VCSA with embedded PSCs will be used now and onward.

That is a Win ;D

Standard
6.0, VMware

Upgrade VMware vCenter 5.5 to 6.0

Hello again
i show you in the previous blog the Feature of vCenter Server Linked Mode
but that is an old feature available in Version 5.5 now to introduce the new features we need to go above a version
v 6.0

i will start the wizard to upgrade my vCenter first before upgrading the ESXi
i will choose > vCenter Server for Windows > Install

1
Click Run
2
Click Next4
Accept the User License Agreement5
Enter the Administrator Password and click Next6
Here you accept the configured port and click Next7
Accept the Destination Directory and click Next
8
Click Next9
Check the box and start the Upgrade10
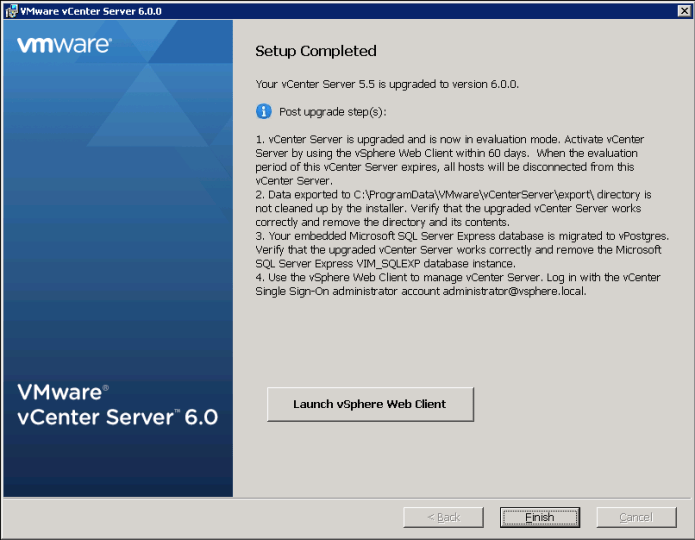
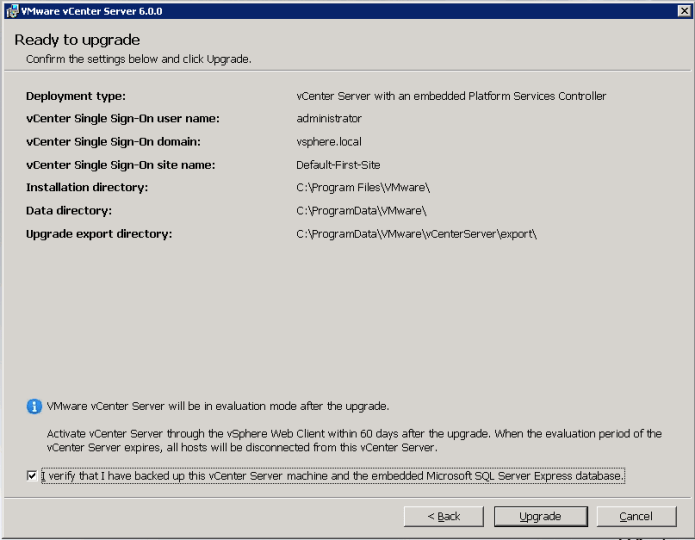
Upgrade will take it time so no rush12
once it complete press Finish16
Browse to the vCenter webpage and accept the Security Certificate17
Confirm it
18
now login using the username and password from my LDAP19
and that Simple
welcome to the vCenter version 6.020

Standard