
The Management King
well i show you in the last blog how to Install VMware ESXi 5.5
Imagin if you have multiple ESXi machine its nonsense to go to each machine and manage it, well today i will introduce The VMware vCenter which will help you to manage all your ESXi hosts from a centeral place and also it will introduce you to so many feature later on.
you can download it from VMware page but When vSphere 5.5 was released, 19 September 2013, its end of support date was also published.
So first there is two Option for vCenter installation either a windows installation or Server Appliance, This is a Windows installation so first thing make sure your server is joined to the domain and next step is installing of .Net Framwork on my Windows server
Let begin i have the exe in my D Drive

i will start the installation and choose to accept the License Agreement


and the installation is complete

now i attach the CD to my PC and will proceed with the installation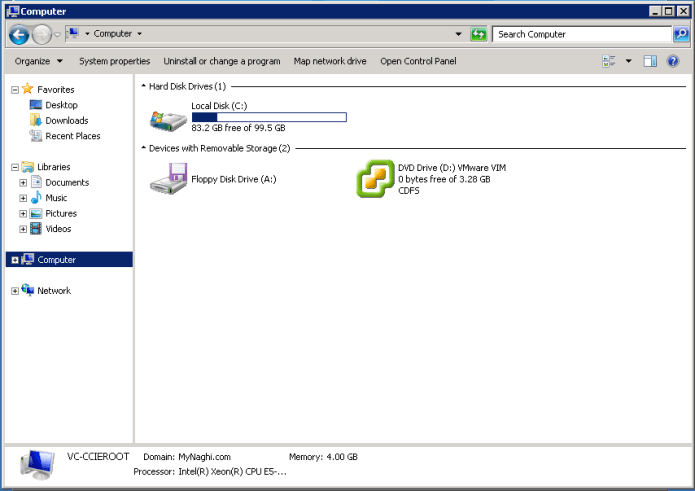
I will choose the simple installation
which will install the main 4 item:
vCenter Single Sign-on
vSphere Web Client
vCenter Inventory Service
vCenter Server
Press Next
and then i will accept the license agreement
and here you find that the server already joined and DNS is resolved successfully
check the box and press Next

Choose a password for your user
the default user for vCenter is (Administrator@vsphere.local)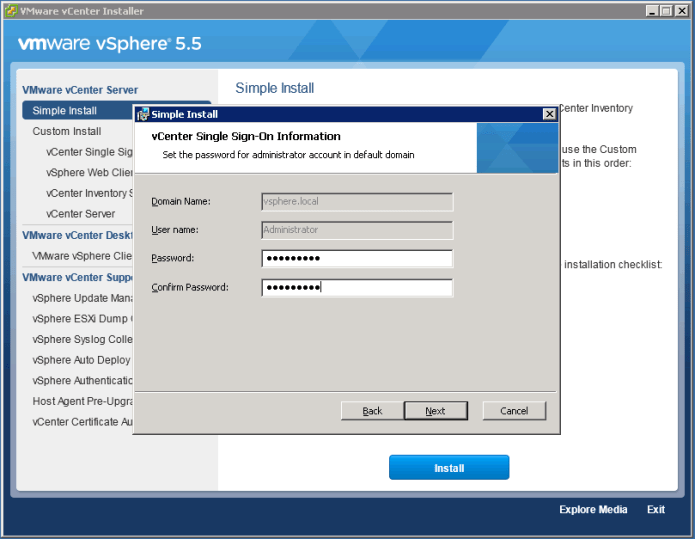
choose a name for your first site

Press Next

Choose where to save your installation file
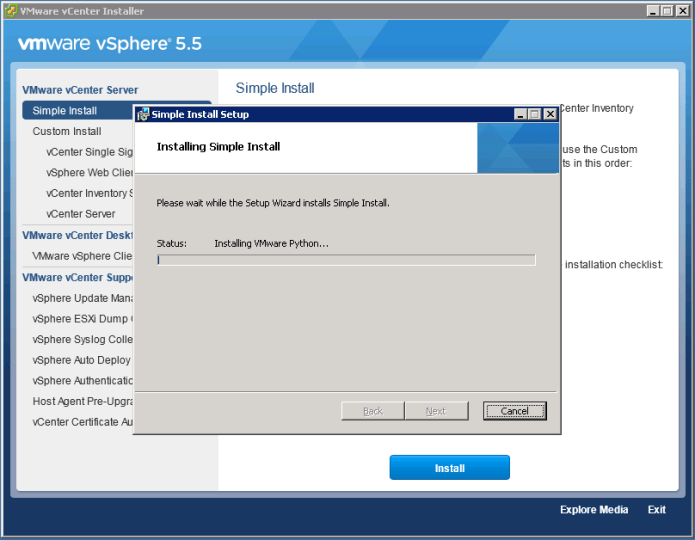
here is your configuration so simply press Install
it may take so much time and it could hang so just when this error show just choose NO
Accept the SSL Sha1 fingerprint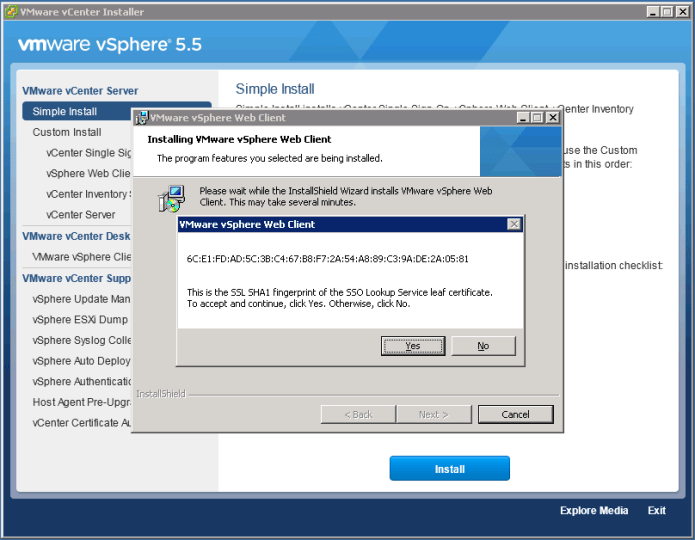

since this is a lab and i dont have a license key i will just press Next
Since this is my lab and i dont have an Existing Database i will choose to install SQL
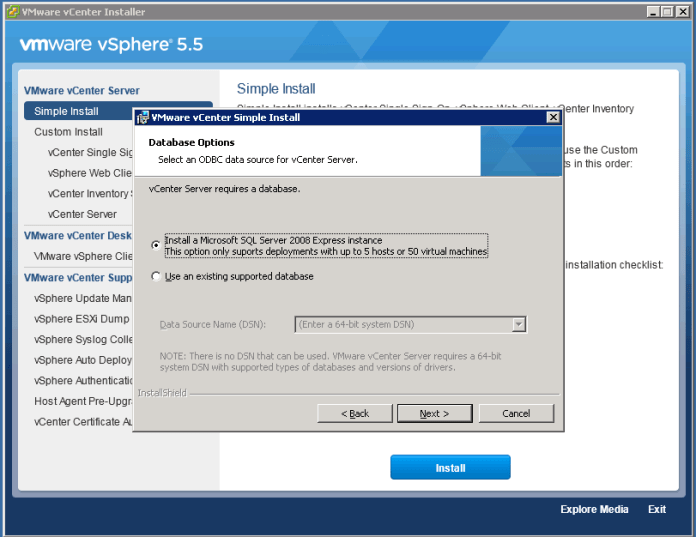
i will use my windows login 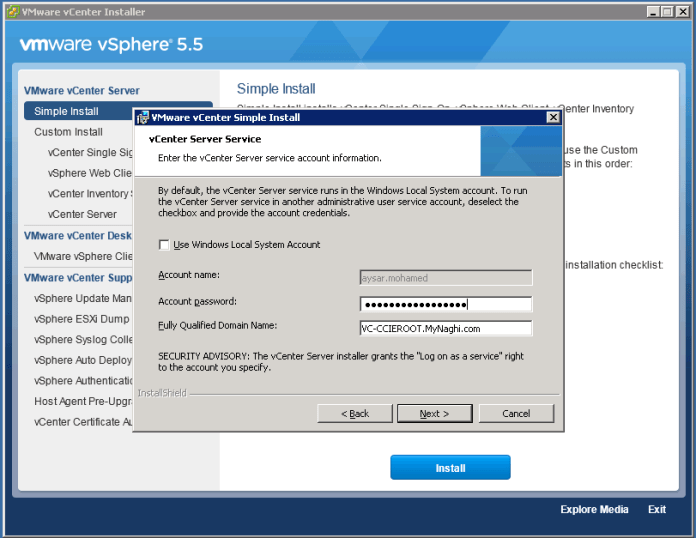
Check those ports and then press next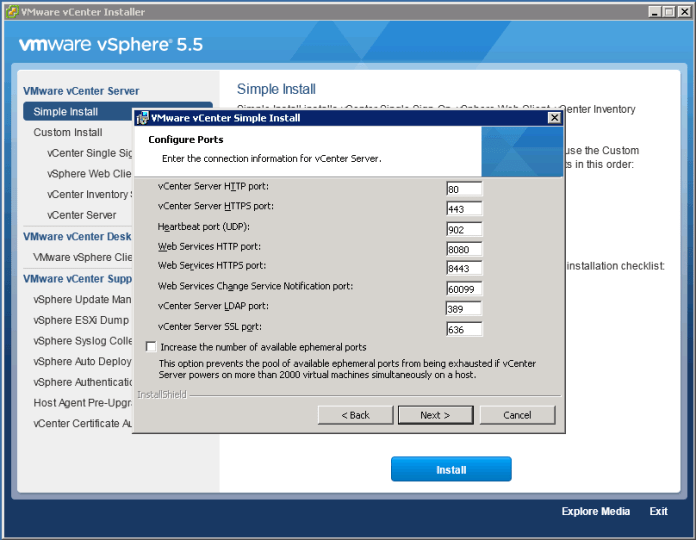
i choosed here small since its only a lab
Press Next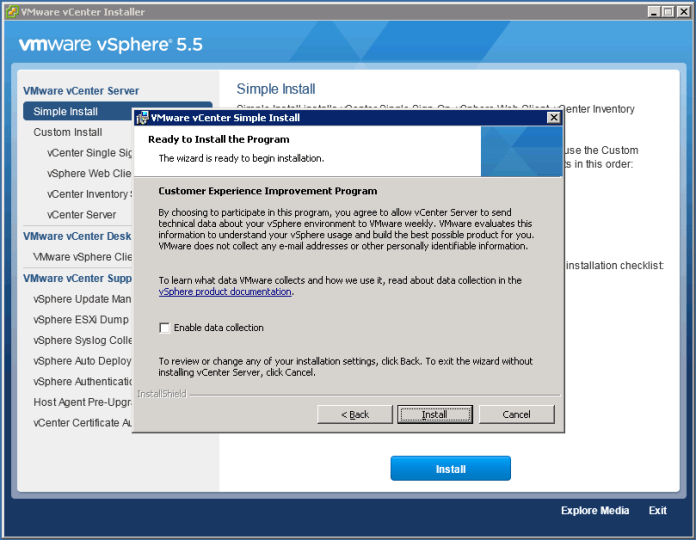
Press Yes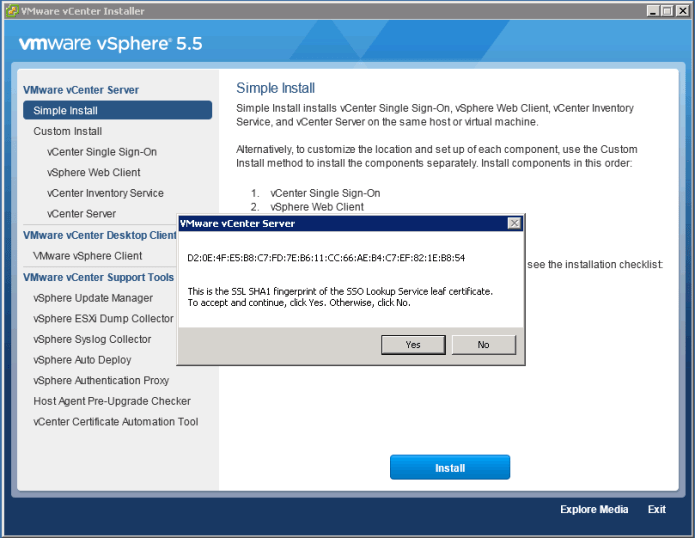

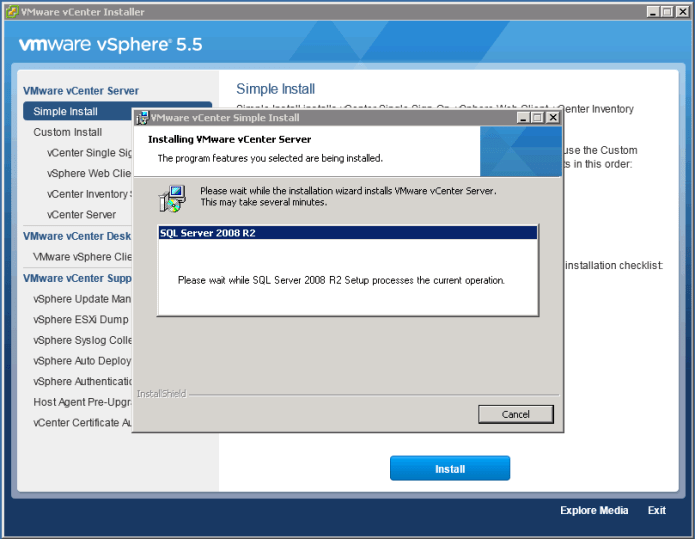
The SQL Server installation start and it may take time

Press Finish

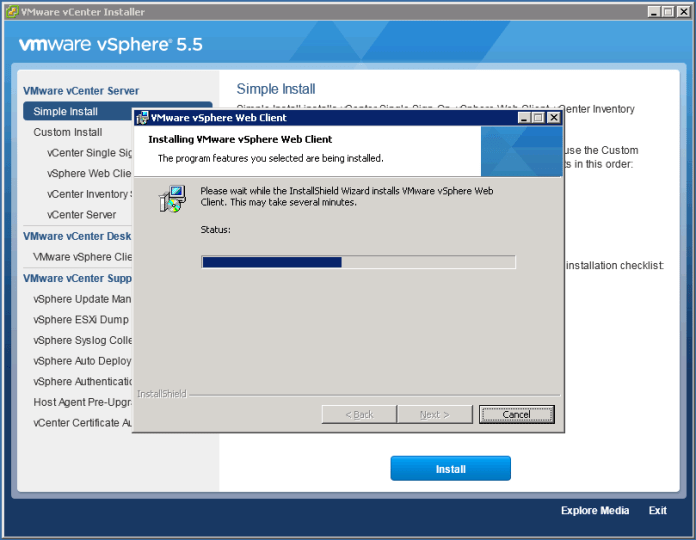
and the installation of all 4 items is done
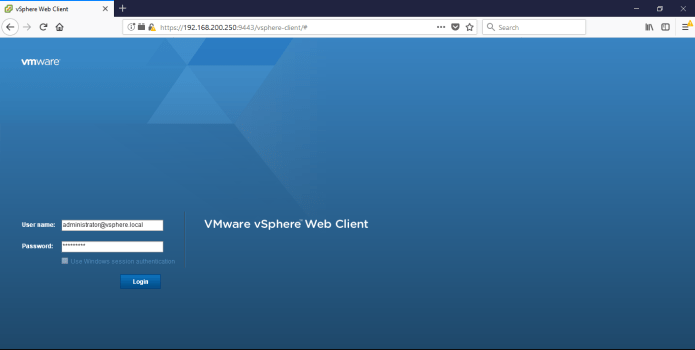
 Now lets go to the Web
https://192.168.200.250:9443/vsphere-client/

Allow the Adobe flash to run
Now login to the web client using the Administrator username and Password
Username: administrator@vsphere.local
Password: *********
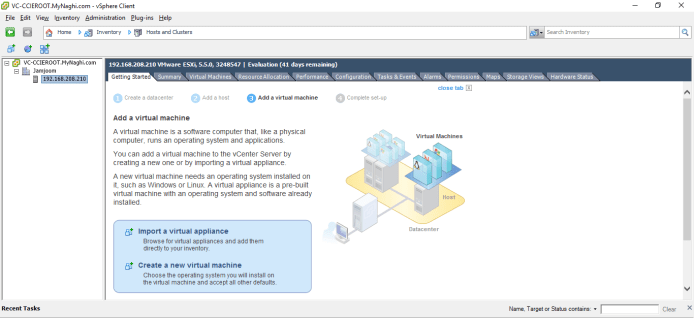
and here is our Getting started Page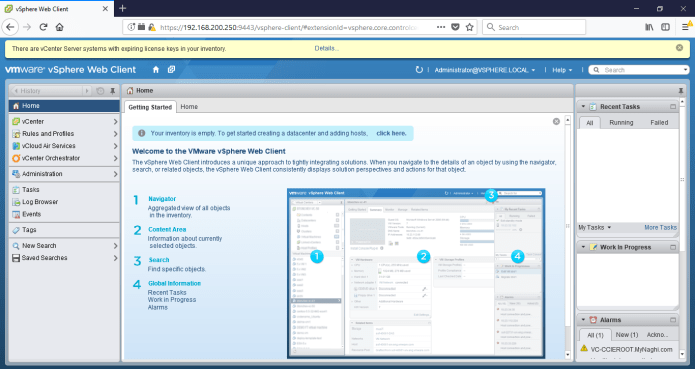
click on Home Tab and you can see all your beautiful Option
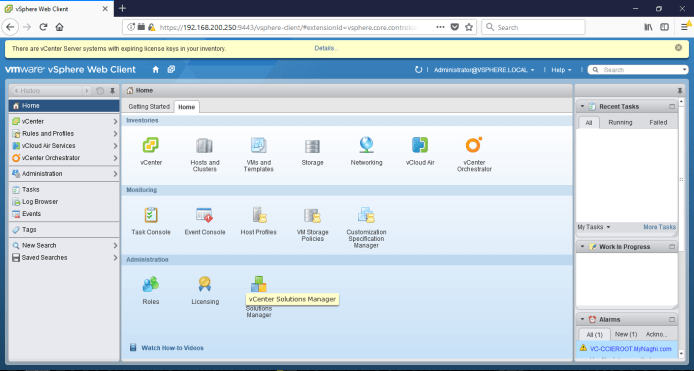
you know what lets not stop here and proceed with adding our ESXi host.
So First Let Add a Datacenter and Name it Jamjoom since that is the branch im working on
so from the Home Page go to
vCenter – vCenter Servers

Now on the vCenter Server Right Click – New Datacenter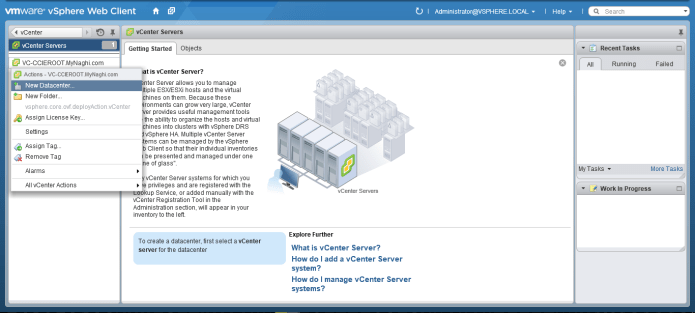
Name it Jamjoom

now if you see the Datacenters filed become 1

Now Click on the Data Center and it will lead me to the Datacenter Page were i can Right Click and Add new Host
Put the IP Address of your ESXi Host and press Next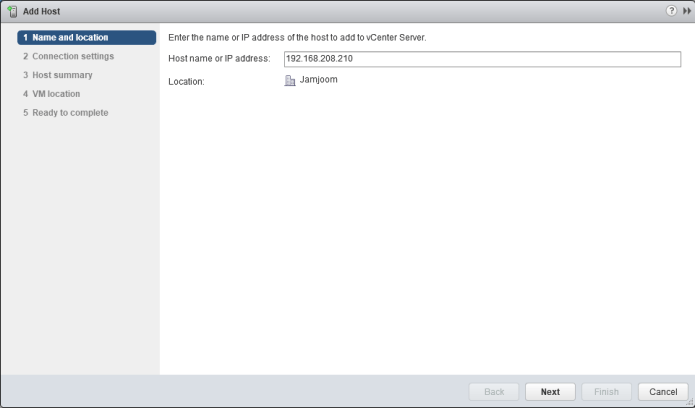
Put the username and password of your ESXi 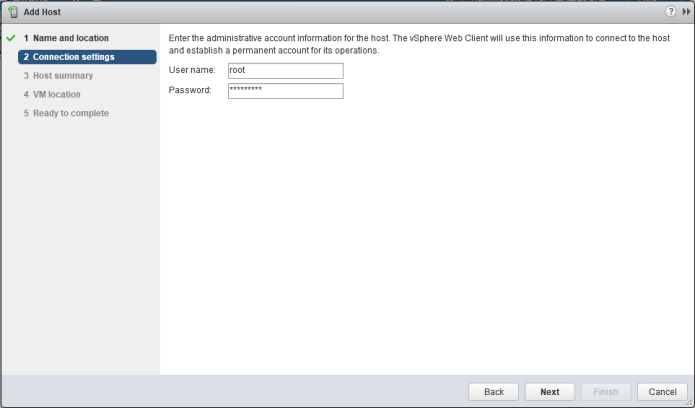
Accept the Security Alert for the SHA 1 thumbprint

And as you see it detect the server hardware and vendor and model

Now click next to accept the Evaluation Mode (dont look at the expire date i created this blog earlier as part of the series ;D)
Press Next
Choose the Datacenter location for this machine
Now press finish

and you can see the running task

and it added
Also i can login to the vCenter through the vSphere Client and see my Machine

choose to ignore
and as you see here that is your Datacenter (Jamjoom) that you created in the earlier step
also i will show you here to add a host through vSphere Client
put the IP Address of the Host ESXi and also in the same step you will put your login username and password then press Next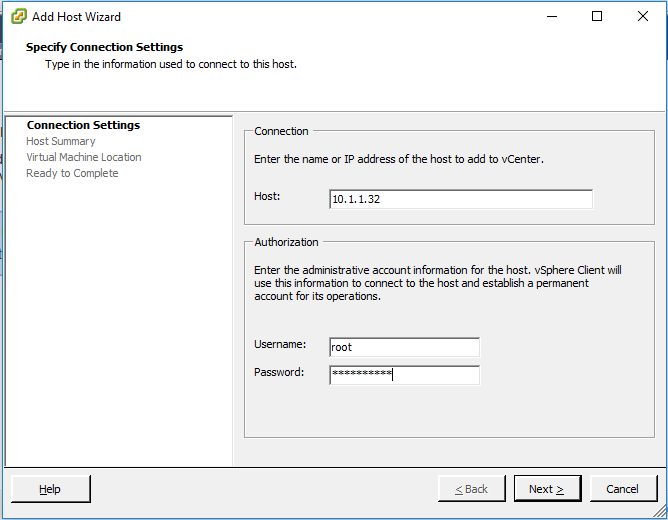
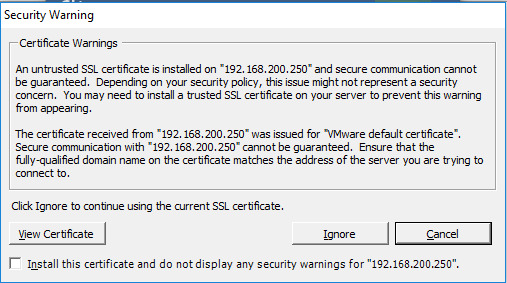
now accept the SHA1 thumbprint

and also it detect the Host vendor and Model and version
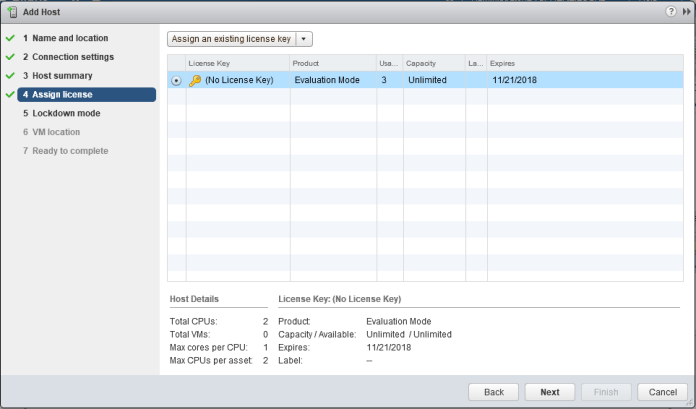
Oh that cool i have a license on that server
lets not tell my manager about it ;D
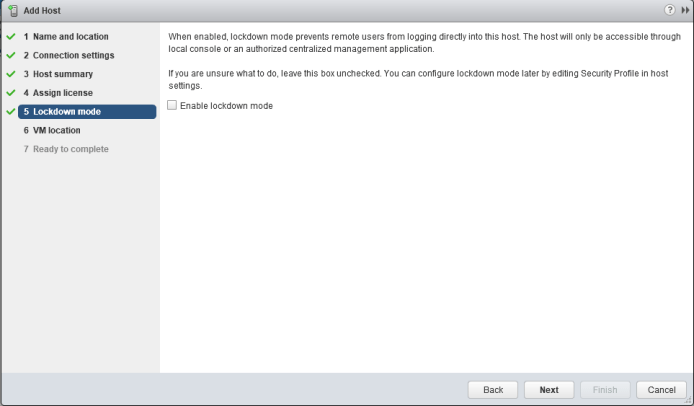
and i will not choose to Enable Lock down Mode so i press Next 
Choose the Datacenter Location
and Finish

and that all it’s 
And just like that we had two subject in one blog, installed the vCenter and add host it
;D

Pingback: Install VMware ESXi 5.5 | Root
Pingback: Integrate VMware vCenter Single Sign-On (SSO) with Active Directory | Root
Pingback: VMware vCenter Server Appliance 5.5 (vCSA) | Root
Pingback: VMware 5.5 Configuring vCenter Server Linked Mode (Single Console Multiple vCenter) | Root