
Now who wouldn’t love to manage his VMware Infrastructure using a single management console. And you can do this with VMware vCenter Linked Mode. it’s available since vSphere 5.1 but im doing it here in 5.5 but let me warn you, there is a degradation in your scalability which i will not Discuss but you always need to check this feature is supported for how many vCenter and how many Hosts
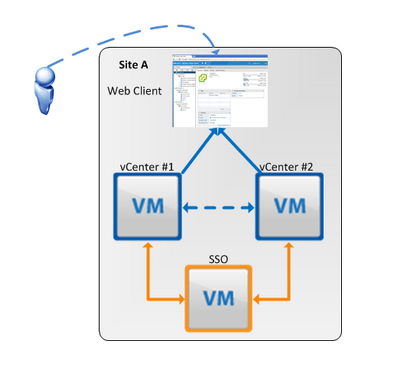
i took this picture from kendrickcoleman which explain my design for this scenario and to to tell you the truth i learn alot from this site, even CBTNuggets didnt mention the way to configure vCenter in Linked mode in their Nugget so i had to test alot and here is the way
one of the most important requirement of Linked Mode is that both vCenter Server is Registering to the Same Single Sign-on Server which force me to change my LAB.
My LAB:
Single Sign-on Server (SSO): 192.168.200.250
vCenter 1 (VC1-CCIEROOT): 192.168.200.251
vCenter 2 (VC1-CCIEROOT): 192.168.200.252
I configured my DNS resolution (forward / reverse working) on all my Windows servers.
Now similar to my second blog where i install vCenetr i will follow the same procedure.
I will choose Custom Install > vCenter Single Sign-On > Install
Click Next
Check the Box to Accept the License Agreement

Check the Box to add the AD as my identity source

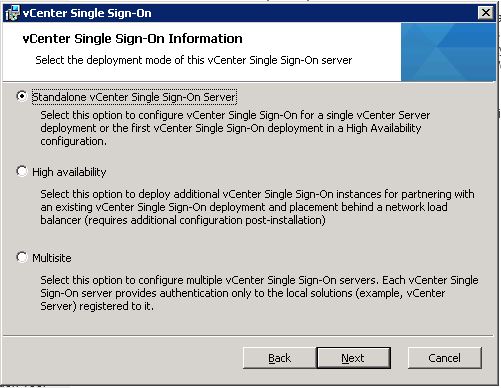
Choose the standalone vCenter Single Sign-On Server
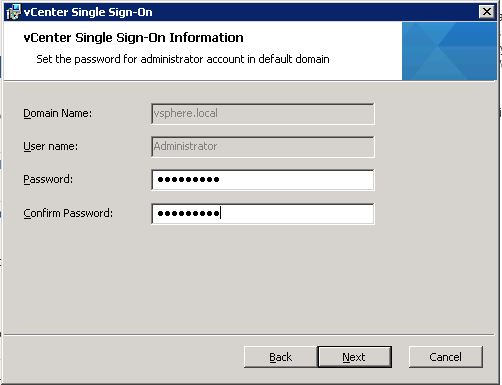
Choose a password
Use the default Site name

Click Next for the default port

Click Next
Choose Install

it will take couple of minute to finish the installation

Click Finish

and here i finish the first part on the first server
Now we move to the first vCenter (VC1-CCIEROOT) to configure the features
But this time we will Choose vSphere Web Client
Click OK

Click Next

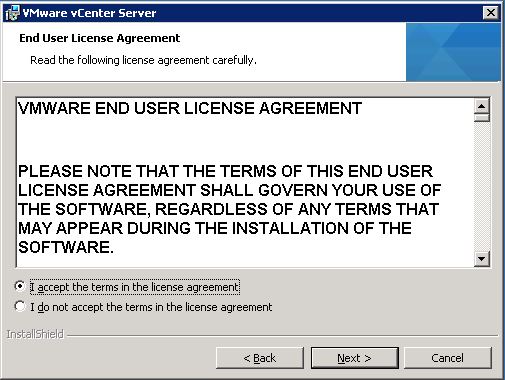
Accept the License Agreement

Click Next

Click Next to accept the default port

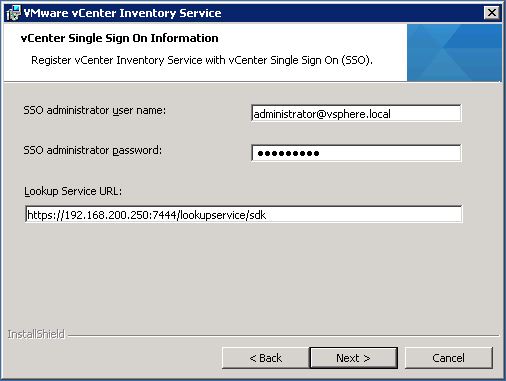
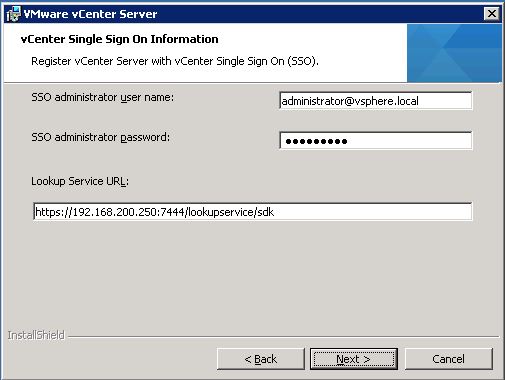
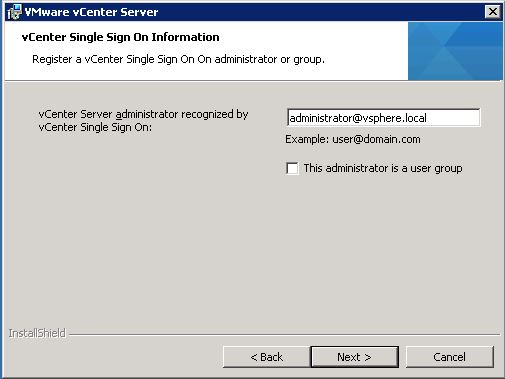
Now the Most Important step is to define the SSO Server
Choose a password
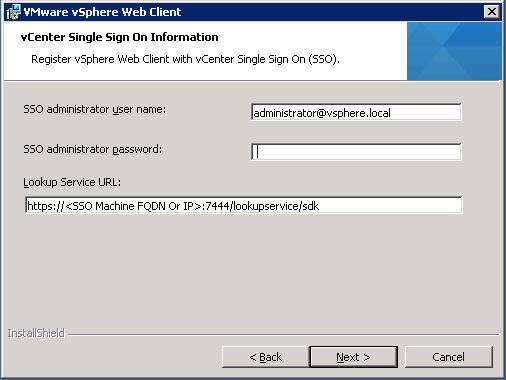
and before you press next also put the IP Address of the SSO Server
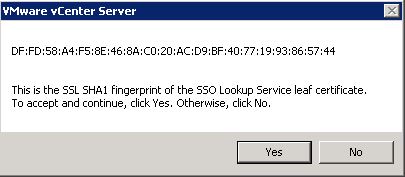
Click Yes to accept the SSL SHA fingerprint

Click Install Certificates

Click Install
Click Next and it will proceed with the installation
Click Finish
and this is a message to let you know the installation is finish successfully

Second step install the vCenter Inventory Service > Install
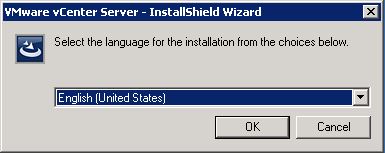
Click OK

Click Next
Accept the License Agreement

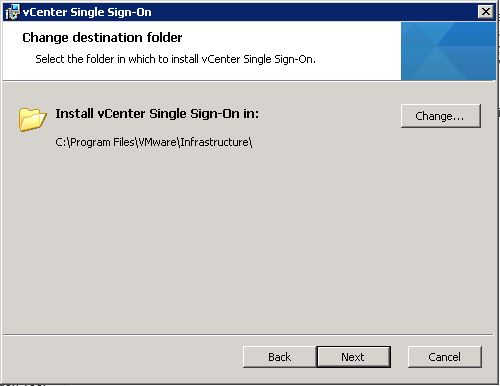
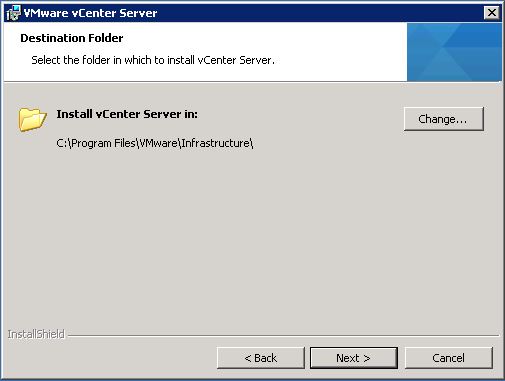
Click Next to accept the location of the installation

Enter the FQDN for the first vCenter
(VC1-CCIEROOT.mynaghi.com)
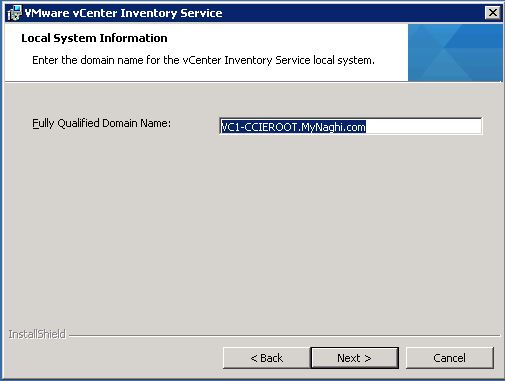
Click Next
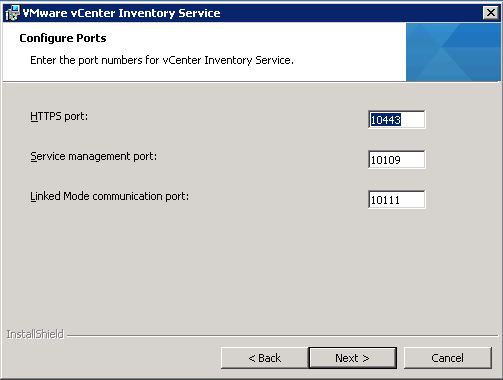
Select the Small and click Next

Also again here you enter the SSO Credential and the IP Address of the SSO Server
Select Yes

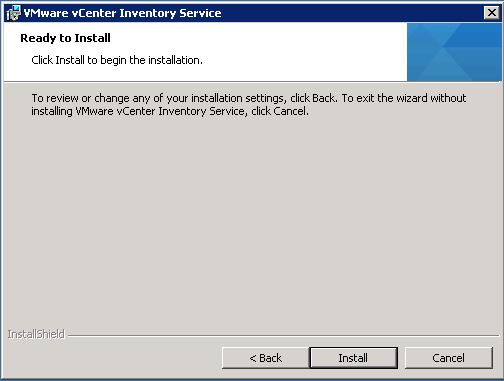
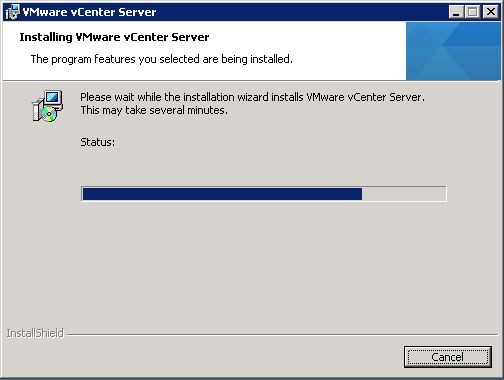
Click Install to start the installation
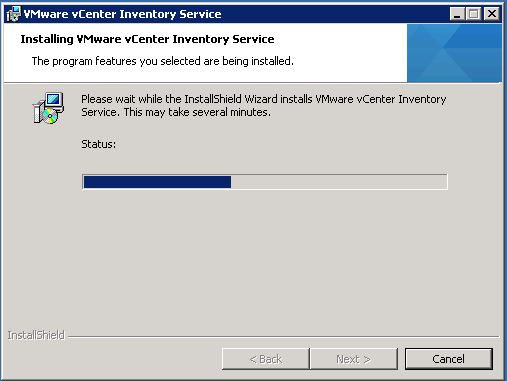
it will take time to finish
Click Finish

Last but not least Select the vCenter Server > Install
Click OK
Click Next

Accept the Agreement
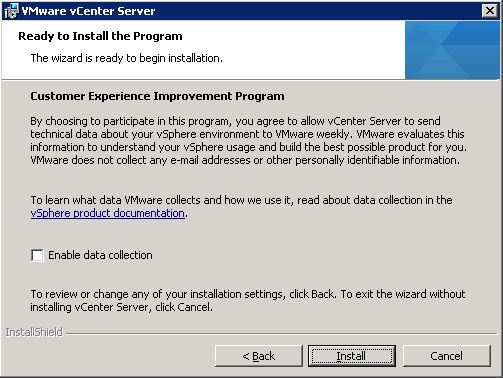
no need to input any license since this is a LAB just click Next and it will install the evaluation License
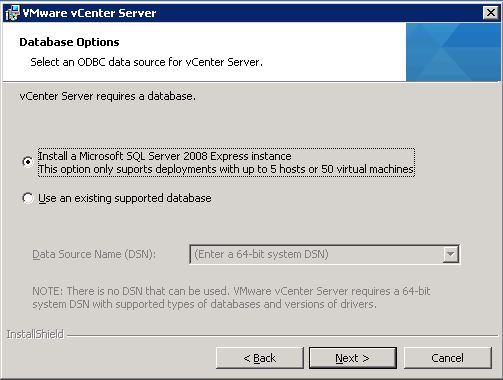
Choose to install the Database

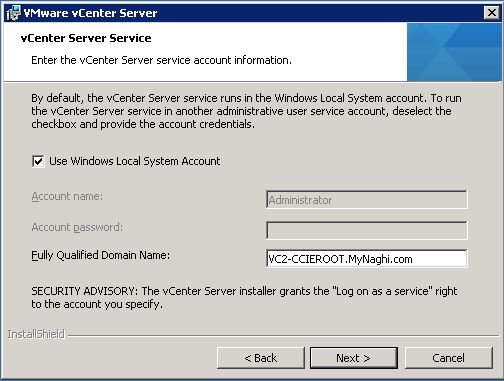
Check the box to use the Administrator Account since i’m login with the Domain Admin Credential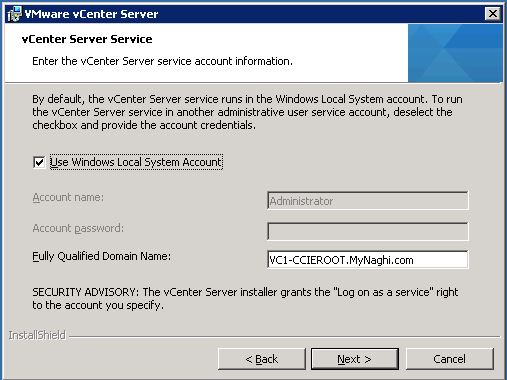
Create a standalone vCenter

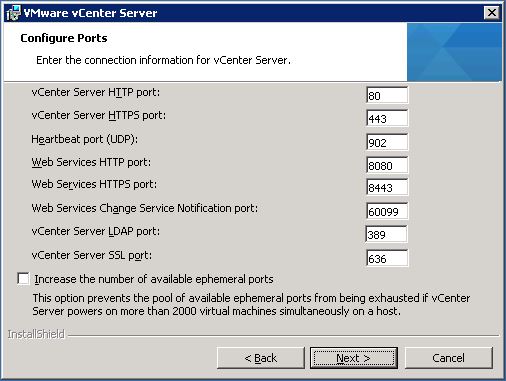
Click Next to Accept the Default Ports
Choose the Small Size

and again Enter the Credential of the SSO Server
Click Yes

Click Next

make sure the name is the correct one

Click Next

Click Install
it will take couple of minute

and the database will take more time too
once the SQL is finish the Server will progress with the vCenter Installation

Click Finish

and as you can see all my servers are installed
Now we will repeat the same step in the second vCenter (VC2-CCIEROOT) for both feature Web Client and Inventory but for vCenter Server there is a little change so i will show it to you here
so select vCenter Server > Install 
Click OK

Click Next

Accept the Agreement

Click Next on the License

Select to install the SQL Database
Also use the Local Admin here
Now this is the most important Step
Choose to join a VMware vCenter Server group using Linked Mode

Click OK
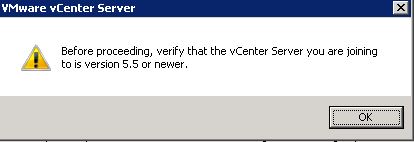
ENter the DNS FQDN for the first vCenter
(VC1-CCIEROOT.mynaghi.com)
and click Next

Click Next

Select Small Size Deployment

Enter the Credential of the SSO Server

Click Yes to Accept the SSL SHA1 fingerprint
Click Next
Enter the FQDN of the Server
(VC2-CCIEROOT.mynaghi.com)

Click Next
Click Install

Give it time

and more time
and more more time 😀
and just more more more time
i promise this is the last time
and Finish

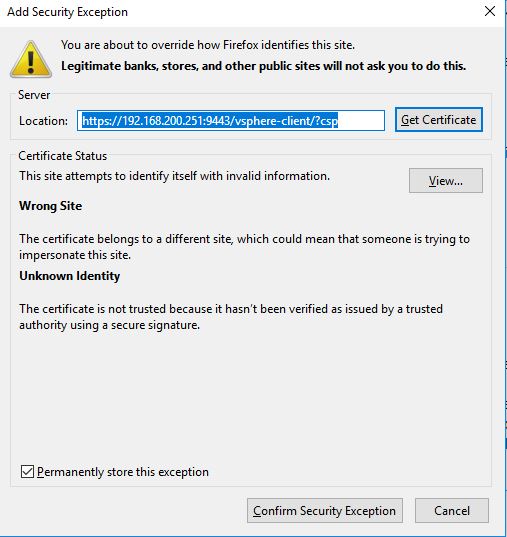
now let’s browse to the vCenter page
vCenter 1 (VC1-CCIEROOT): 192.168.200.251
Click Advanced to accept the Certificate
Confirm it
and now i will login to the vCenter page
and as the page of vCenter show up click on vCenter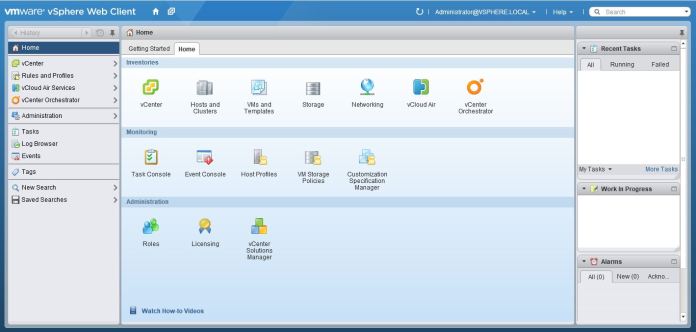
and as you can see it show two vCenter in my page
VC1-CCIEROOT.mynaghi.com & VC2-CCIEROOT.mynaghi.com 
As Easy As It Get 😀

Pingback: Install VMware ESXi 5.5 | Root
Pingback: Upgrade VMware vCenter 5.5 to 6.0 | Root
Pingback: VMware 6.0 Configuring vCenter Server ELM (Enhanced Linked Mode) | Root