
When i start my road to VMware in 2013 this is the subject that kill my head and i got the help from a friend of mine so the thanks here goes to Mohammed Hadi Bafaqeer

ISCSI Storage is one of the best solution for VMware Design cause you cant depend on the Storage of the server in case the server crashed all your data crashed and you cant retrieve it and also it can help you in enabling feature like Vmotion
so lets start configuring
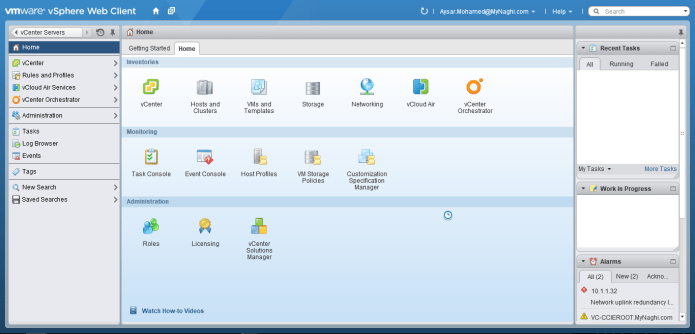
in Home Page – choose “Hosts and Clusters”
Select the Host
Go to Manage tab – Networking – Virtual Switch 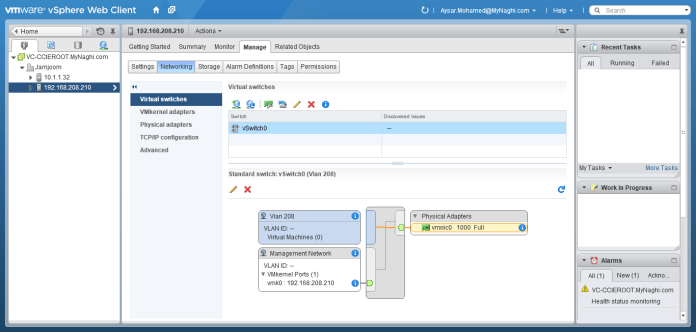
Choose to Add host networking
Select the VMKernel Network Adapter 
I use the same vSwitch since I have only one network interface in my server that is up now.
I suggest to have a separate network vSwitch for Storage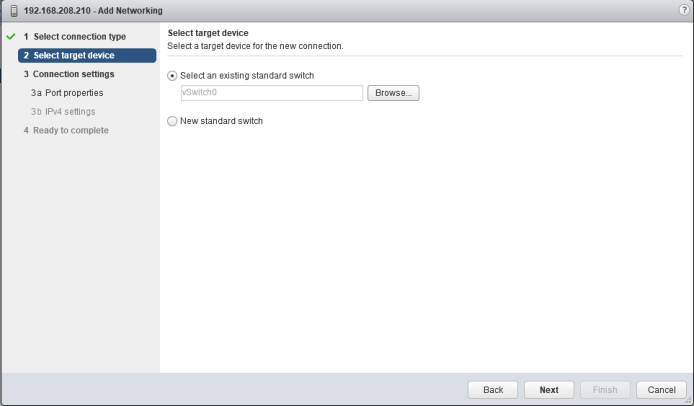
Put name to it and leave the rest for default and no need to enable any Services
It better to select a static IP but since this is a lab i let it Automatically obtain an IP from DHCP
Finish

and you can see your vSwitch 0 when you highlight it it show the Storage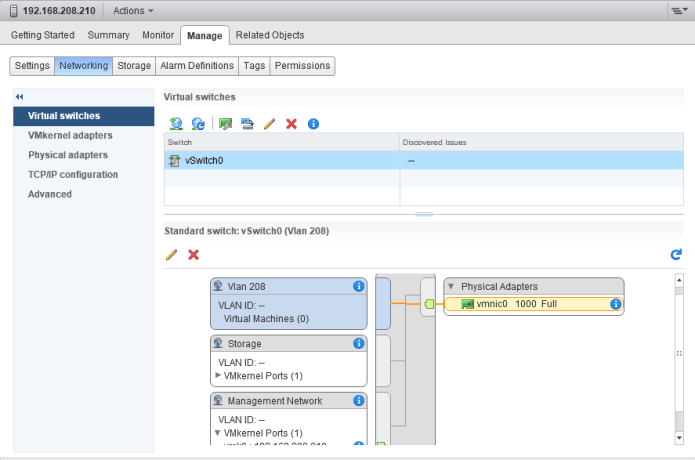
now Second Step
go to the host – Manage – Storage – Storage Adapter –
+ Software ISCSI Adapter
Press OK

Now highlights the ISCSI Storage Adapter
Select tab Target – Add Put the IP Address of you Storage
Mine is 192.168.200.100 press Ok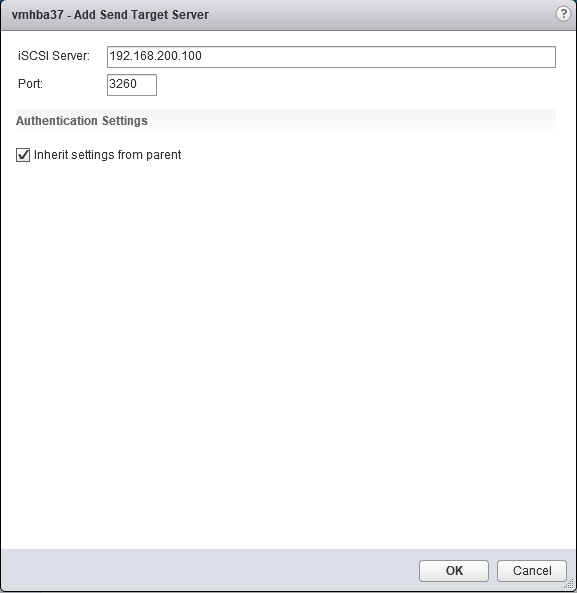
Now the Target is added Now I will associate the VMKernel Adapter with it
Select Network Port Binding – + Select the Storage VMKernel Adapter that I configure in the beginning of the blog

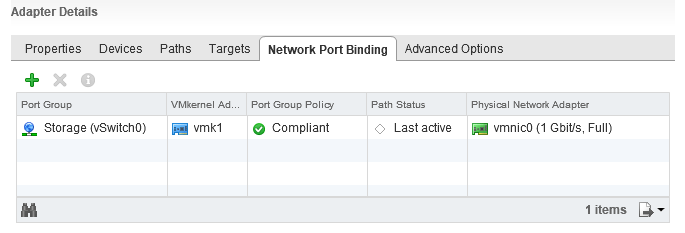
It is Added and show status Not Used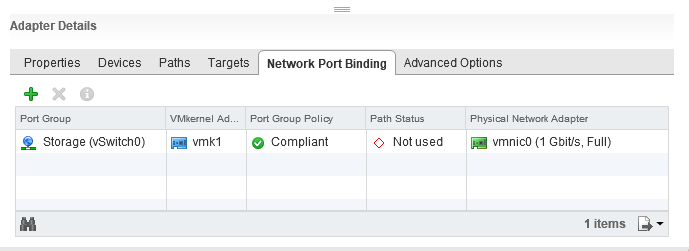 Click In Rescan icon to refresh the page and

And it change from Not used to Last Active
 Now Third Step is to add Datastore
Select Host – Related Objects tab – Datastores –
Choose to create a new datastore
Select the Location
Choose the Type
Choose a datastore name
and select the Version
ok here i only chooses to use 50 Gig of my 93 Gig 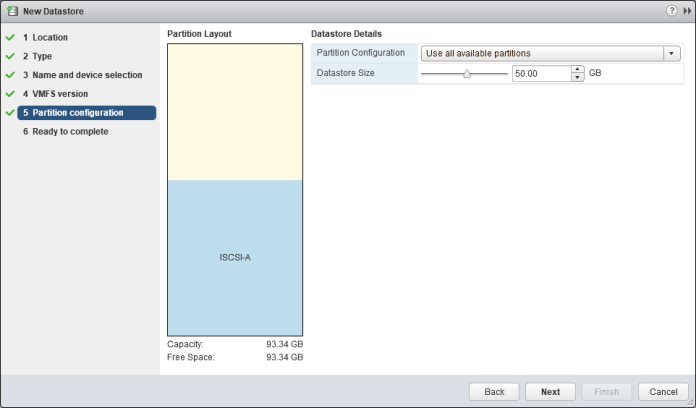
Then hit Finish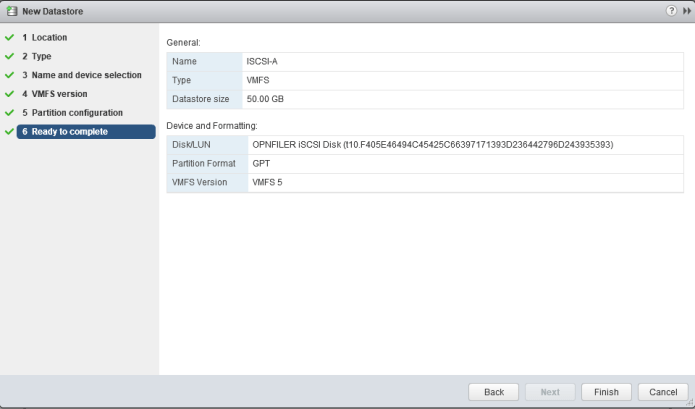
as you can see the storage been added under my ESXi host 192.168.208.210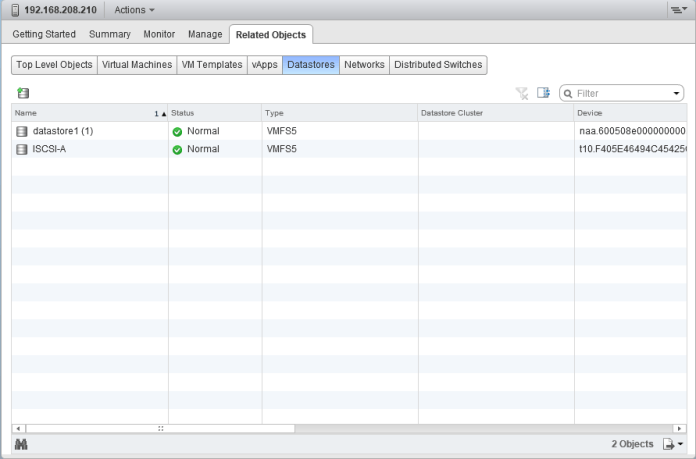
and if i go to my second host 10.1.1.23 i will see the same shared Storage

Now i want to increase my Storage cause of the 50 Gig is not enough and i want to utilize my whole storage
in my Home Page go to Storage

Then go to select the storage i create
ISCSI-A – Manage – Settings – General – Increase 
Select the Device
Use the free space
Increase to the size you wish 
And simply it increase now hit finish
and as you can see it change from 50 Gig to 93 Gig Now lets Create a Virtual Machine to be inside that storage

Choose to create a virtual Machine
Choose the Datacenter
Select the host
and now you choose the storage you create earlier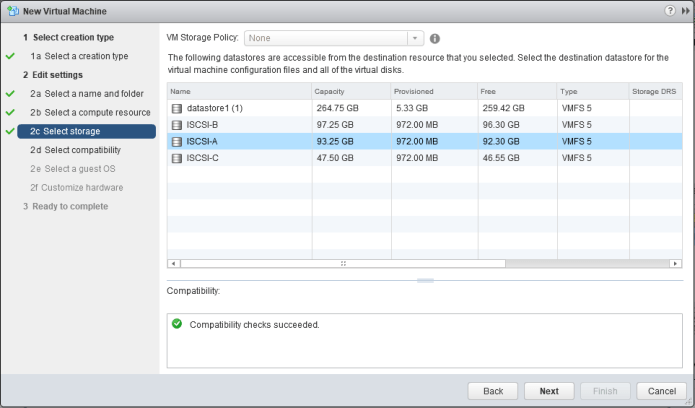
Choose the compatibility version
And select the Guest family
i am about to install Windows ;D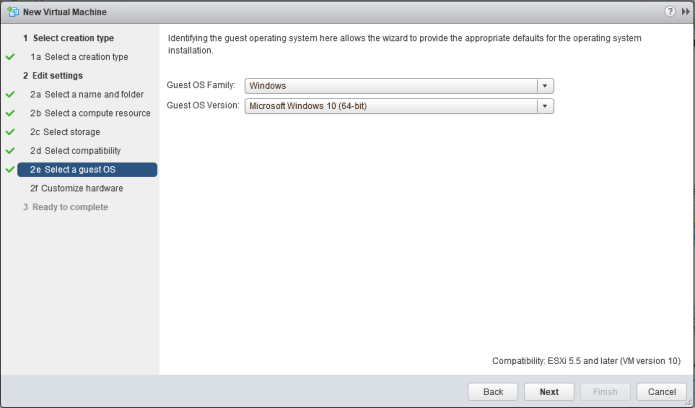
ALmost finish i will just select my ISO file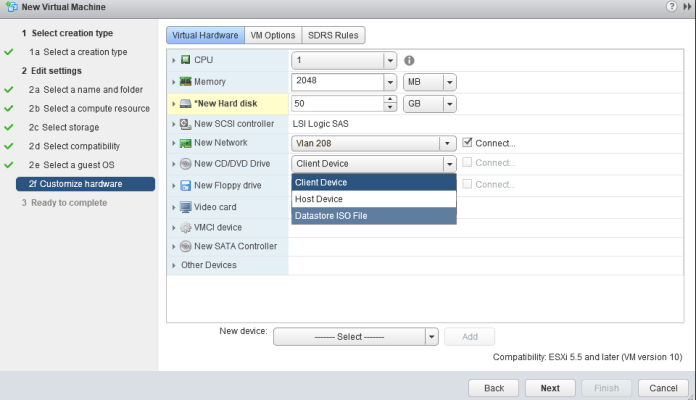
Windows 10 CD yessssssssss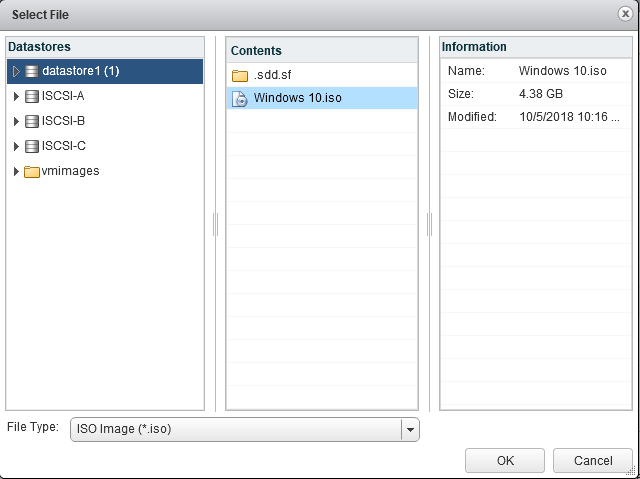
Hit Next
and that it’s press Finish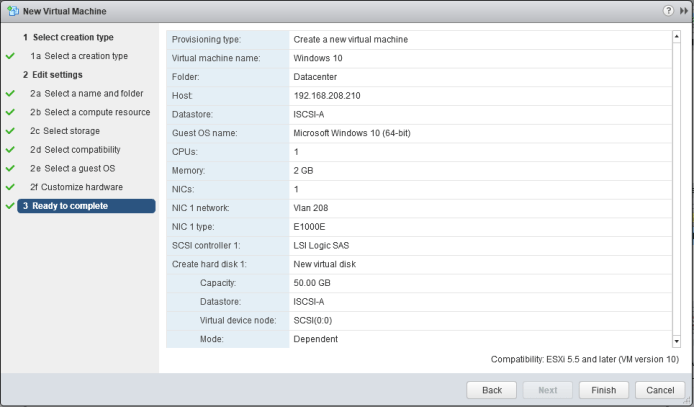
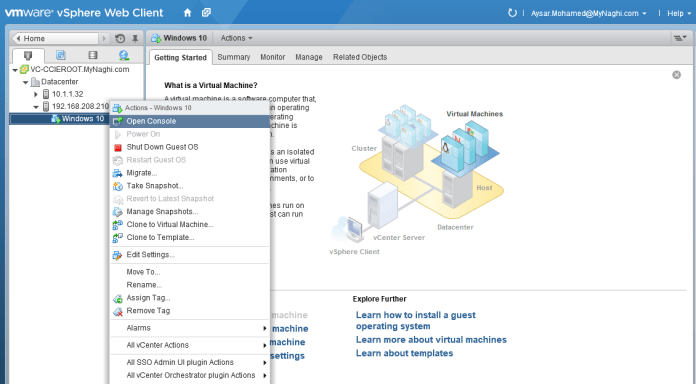
Power on the Machine
open console to see the procedure
and proceed with he installation
And that it is
install the windows on our new storage
Note:
Selecting a wrong adapter type can result in low networking performance or inability of the guest operating system to properly detect the virtualized hardware.
Some of the network adapters that you might be available to choose for your VM include:
- vlance: This adapter is also called PCNet32 and most 32-bit guest operating systems support it.
- vmxnet: This adapter provides significantly better performance than vlance.
- Flexible: This adapter can function as either a vlance or vmxnet adapter.
- e1000: This high-performance adapter is available only for some guest operating systems.
- vmxnet2 (enhanced): This adapter is a VMware vmxnet adapter with enhanced performance.
- vmxnet3: This adapter builds on the enhanced vmxnet adapter.
Typically you would see only one vNIC per VM, but there is also a possibility to add more vNICs (up to 10) if you want to connect a VM to multiple vSwitches.
;D
