Hello Again
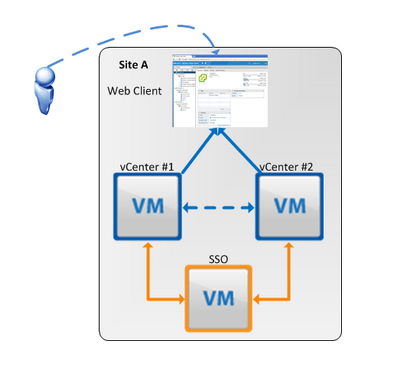
I show you in earlier blog how to configure Linked mode for VMware 5.5 As a result of these architectural changes, Platform Services Controllers can be linked together. Previously, vCenter Linked Mode was only available for Windows vCenters.
Until the release of vSphere 6.0, the new vCenter Enhanced Linked Mode (ELM) can connect multiple vCenter Servers (both vCenter Servers running on Windows and vCenter Server Appliances) by using one or more Platform Services Controllers.
vSphere 6.0, Platform Services Controller (PSC) was introduced as Embedded PSC for single vCenter Server and External PSC to manage multiple vCenter Servers.
the limitations for Linked Mode with external or embedded PSCs are different:
- For vCenter Servers deployments with external PSCs, you can join up to 10 external PSCs and 15 vCenter Server systems in a single SSO domain.
- For vCenter Servers with an embedded PSC, you can join up 15 nodes in one SSO domain.
You can also migrate virtual machines across clusters on separate vCenter instances
so let’s go
This is my Single Sign-on Machine

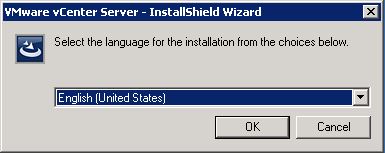
i will run the VMware CD
Click Install vCenter Server for Windows
Click YES

Press Next

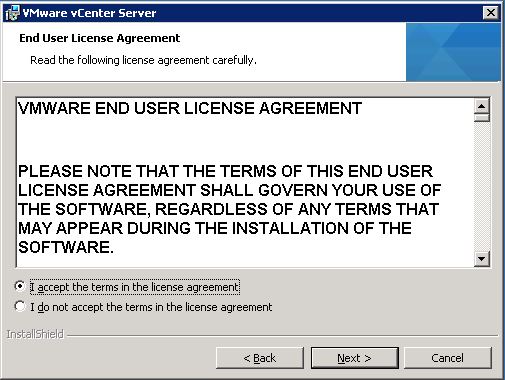
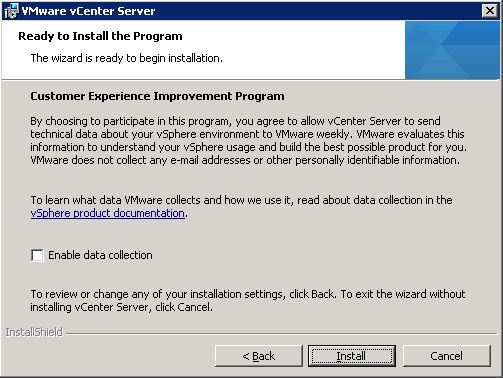
Check the box
I Accept the term of the license agreement
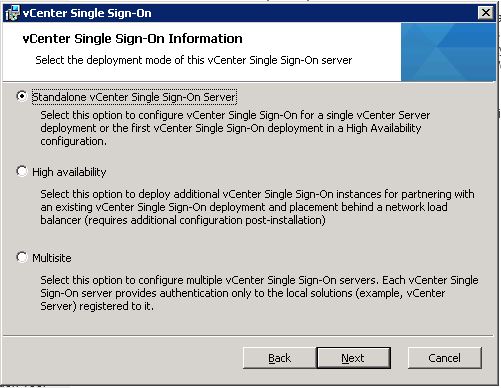
I choose (Platform Service Controller)
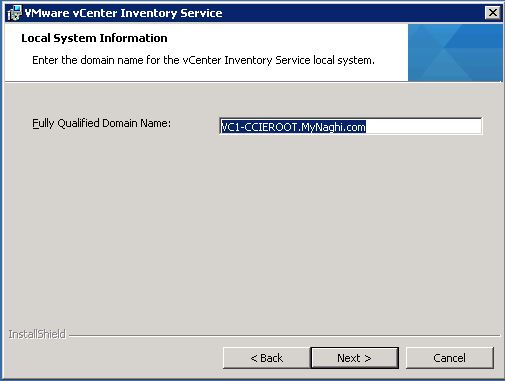
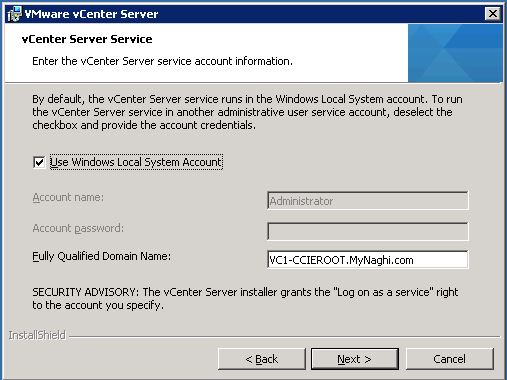
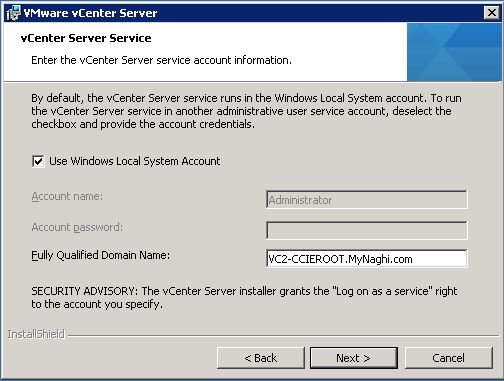
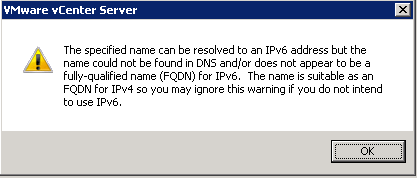
i put the Machine FQDN
then i click OK
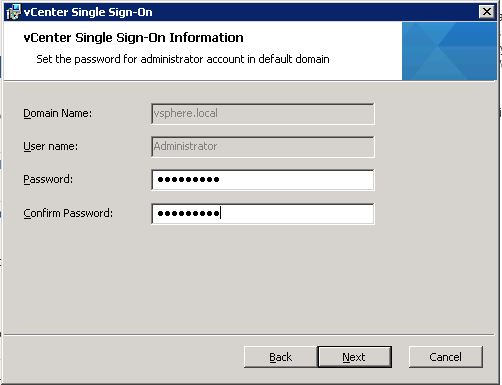
put the domain name, vCenter admin and password and default site name as this is a new SSO
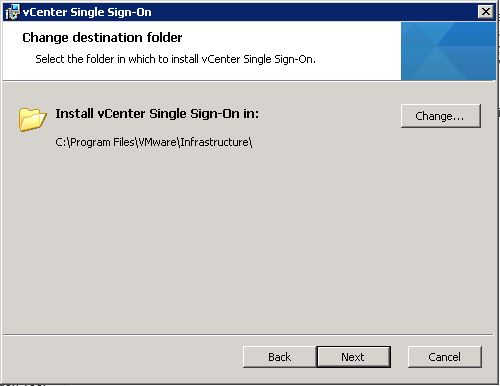
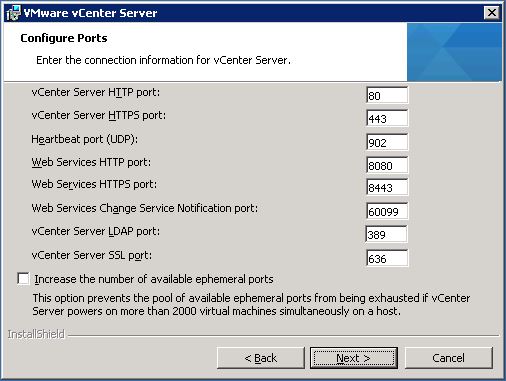
Leave the port to it default

Press Next

again Next

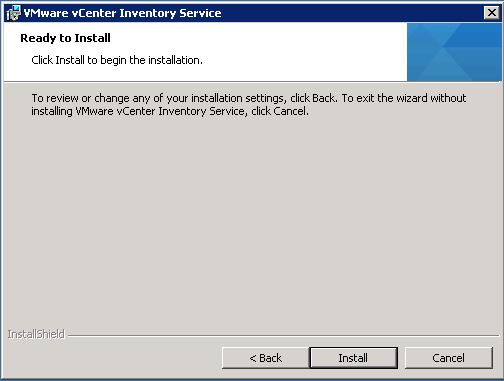
now click Install

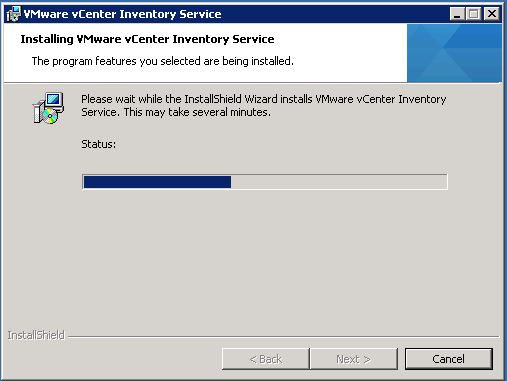
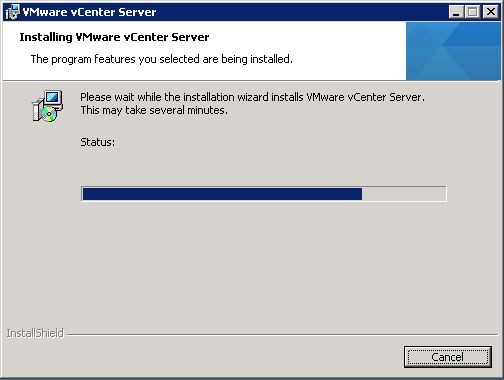
it will take couple of minute

Press Finish

you can go to Program and software and you will fins the software installed on the machine
(platform Service Controller)

Now lets go to my First vCenter (VC1-CCIEROOT) 
Lets start the installation same way
Click Next

Accept the agreement and Click Next
this time choose Deployment type as (vCenter Server)

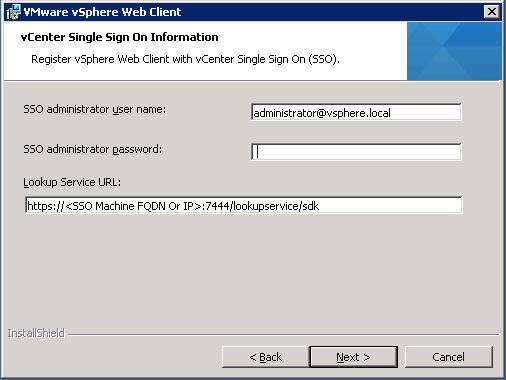
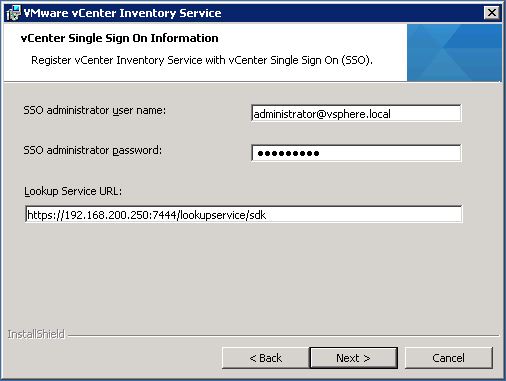
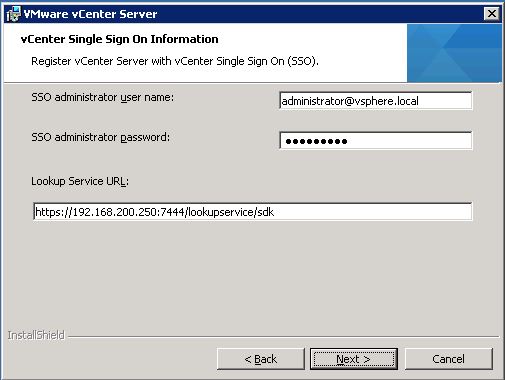
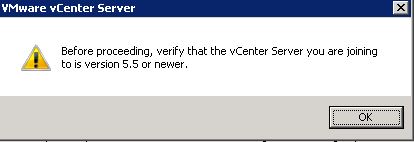
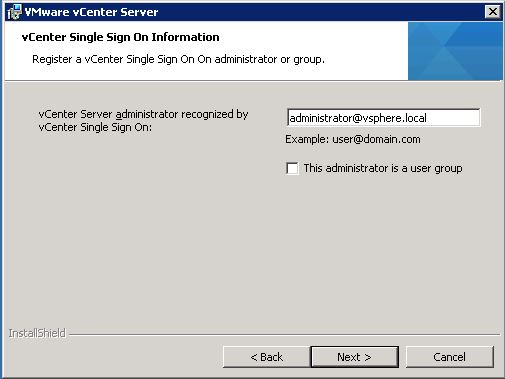
Specify the SSO Server FQDN name or IP Address and the SSO Administrator credentials (administrator@vsphere.local ) which will be the same system running your vCenter SSO service (192.168.200.250)
Make sure that all vCenter Servers in a Linked Mode group are registered to the same vCenter Single Sign On server.
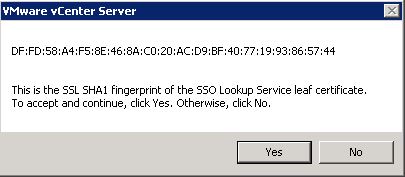
Click OK to accept the SSO Certificate

choose to use the Windows Local Account and Click Next
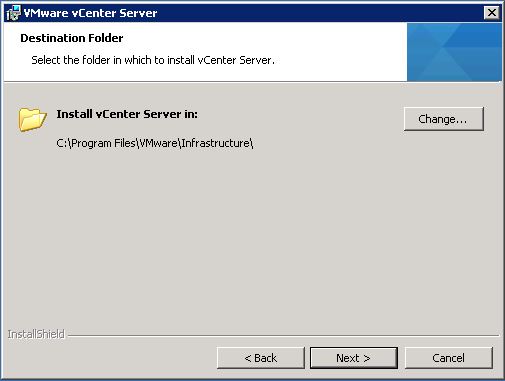
Again Accept the default value and Click Next
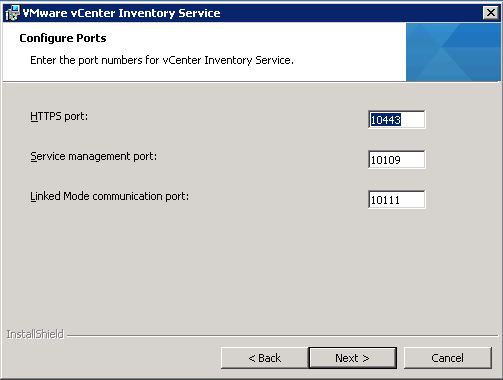
and again accept the default value for ports and Click Next
Click Next 😀

and Finally Install

And Finish

you can see the software (vCenter Server with an External PSC)
Repeat the same Steps with VC2-CCIEROOT
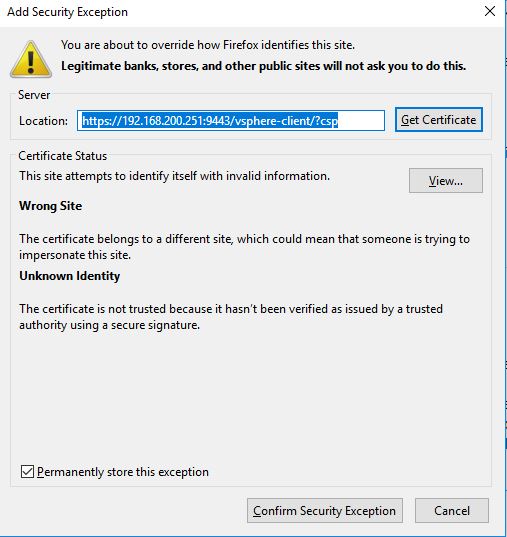
Now to check your configuration go and browse to any of vCenter IP Address

Accept the Certificate

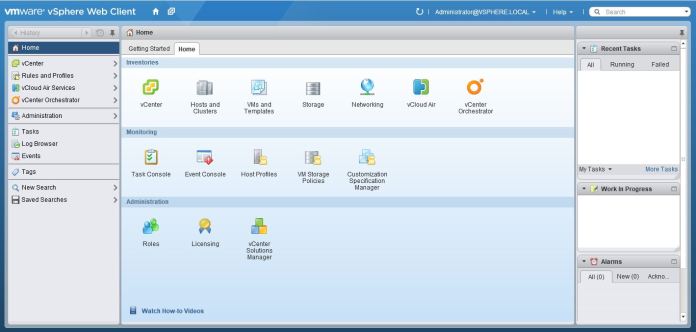
Login using the Administrator account
in the dashboard go to Hosts and Clusters
you can see in the right side both vCenter
Once selected the vCenter you can see the detail of it under the Manage > Settings > General
and the same for the second vCenter
Note:
- A single vCenter can manage 300 ESXi host with 3000 virtual machines, while using linked mode can manage 1000 ESXi hosts with 10000 virtual machines.
- You can create a vCenter Enhanced Linked Mode group only during the deployment of vCenter Server Appliance or installation of vCenter Server. You cannot create a vCenter Enhanced Linked Mode group after you install vCenter Server or after you deploy the vCenter Server Appliance.
- from vSphere 6.5 U2 and vSphere 6.7 onwards, External PSC has been deprecated, Embedded PSC is recommended to manage multiple vCenter Servers and deploy VCSA with embedded PSCs will be used now and onward.
That is a Win ;D