Cisco Unified Instant Messaging (IM) and Presence is now better known as Cisco Unified Communications Manager IM and Presence (Cisco Unified CM IM and Presence). This is due to the integration of Cisco Unified Presence technology with Cisco Unified Communications Manager for Release 9.0 and later.
I will guide you through the installation
List of Software:
Cisco Call Manager 9.1.2
Cisco IM and Presence 9.1.1
let start by CUCM Side
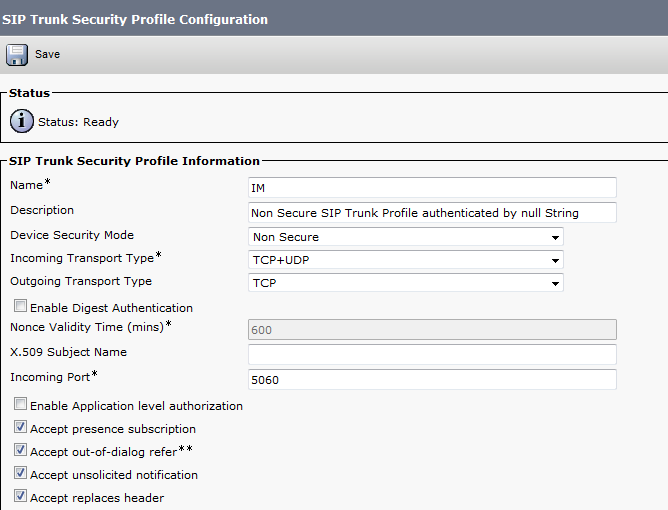
first configure the SIP Trunk Security Profile
System – Security – SIP Trunk Security Profile – Copy the Non Secure SIP Trunk Profile –
Accept presence subscription
Accept out-of-dialog refer
Accept unsolicited notification
Accept replaces header

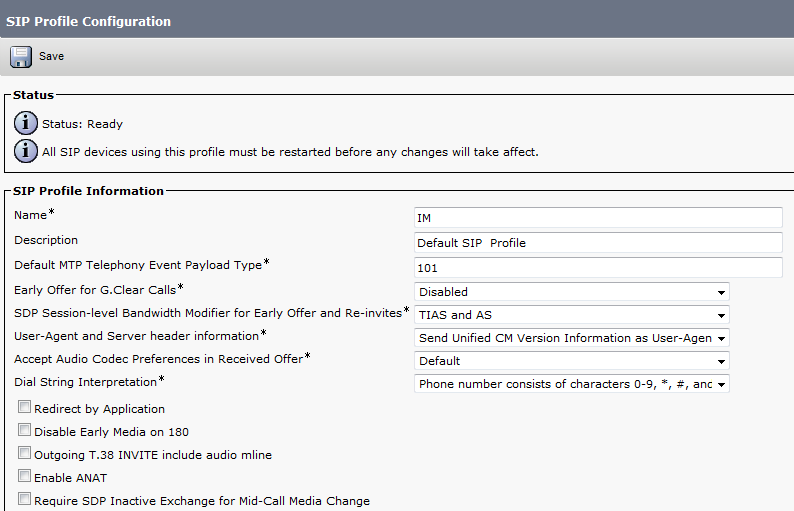
Then Configure SIP Profile
Device – Device Settings – SIP Profile – Copy the Standard SIP Profile
Allow Presentation Sharing using BFCP


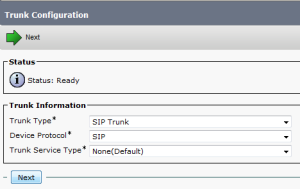
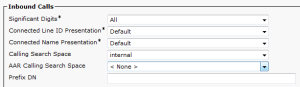
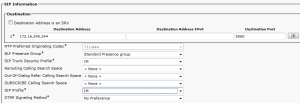
Now Create Trunk to IM and Presence Server
Device – Trunk

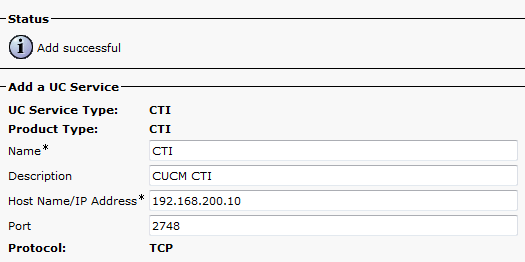
Configure User Service
User Management – User Settings – UC Service – Add Cti, Directory & Presence
When it comes to Directory Integration for user lookup there are two options, EDI and UDS.
EDI – Enhanced Directory Integration requires no configuration by default. If you install Cisco Jabber for Windows on a workstation that is registered to an Active Directory domain, Cisco Jabber for Windows automatically discovers the directory service and connects to a Global Catalog in the domain.
UDS – User Data Service is an interface in Cisco Unified Communications Manager that makes contact information available to Cisco Jabber for Windows.
No server configuration is required for UDS. You create your directory source in Cisco Unified Communications Manager and then synchronize the contact data to Cisco Unified Communications Manager. After the synchronization occurs, your contact data resides in Cisco Unified Communications Manager. Cisco Jabber for Windows then automatically connects to UDS and performs all contact resolution.


Configure Service Profile
User Management – User Settings -Service Profile

User data service is a service that provide access to user informatin stord in the CUCM backend storage. Check the check box if select to use the UDS service provided in CUCM for the directory lookup instead of external directory.


Create the jabber-config.xml global configuration file.
you can use Jabber Config File Generator to do that or use mine
The following config file enables screen capture, file transfer and video. Potentially malicious files are blocked for file transfer such as exe, msi etc.
UDS is specified to use the Call manager as user search database which I will use in my document.
you can use Jabber Config File Generator to do that
Cisco File Generator:
Available by one of Cisco Web Page member Szelenka
https://supportforums.cisco.com/document/106926/jabber-config-file-generator


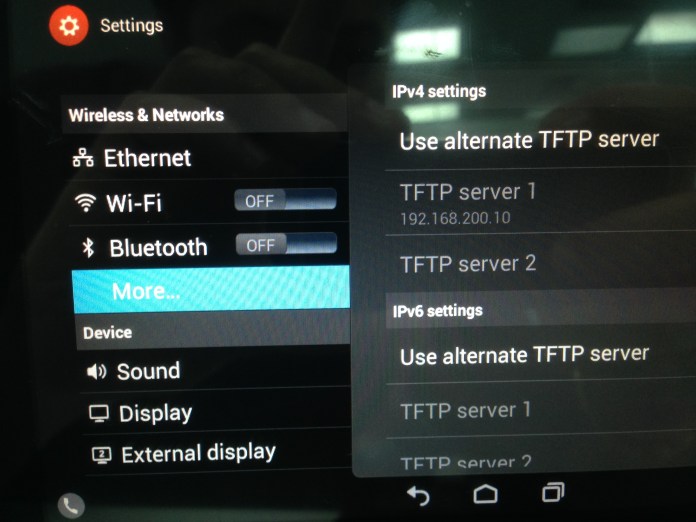
Upload the file to all TFTP servers, be sure to restart the tftp service on Pub/Subs.
Now Create the User and Assign the Service Profile to it


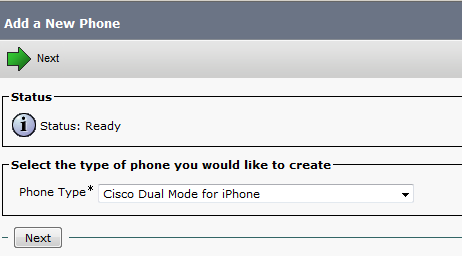
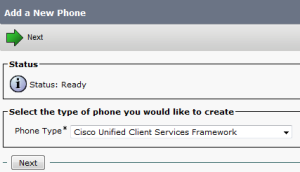
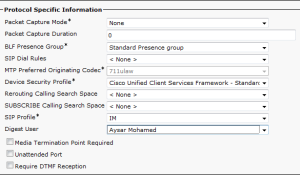
Now Create the Jabber Client
Device – Phone
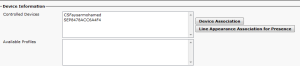
Create a Client Service Framework Device. This is the softphone/desktop sharing used in Jabber for Windows. name it CSFuserid.


Goto the end user page. Add the CSF device and any desk phones to the end users device associations.
Add the Standard CTI Enable group.

Last Part in CUCM Side is Service Parameter Configuration
System – Service Parameter – Choose the Server – Cisco Call Manager
Default Inter-Presence Group Subscription : Allow Subscription
IM and Presence Publish Trunk : IM (the trunk i configure earlier)


Now Let’s Move to CUPS Side
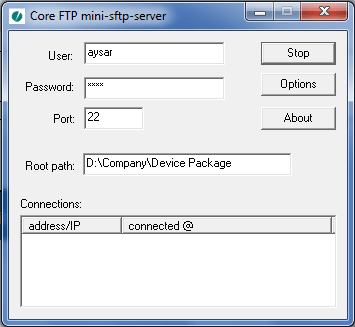
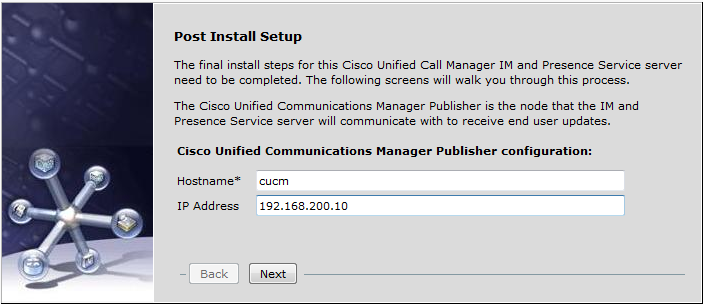
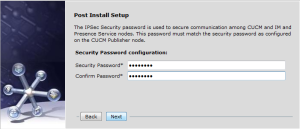
First start the initial Setup
login to Administrator Applications

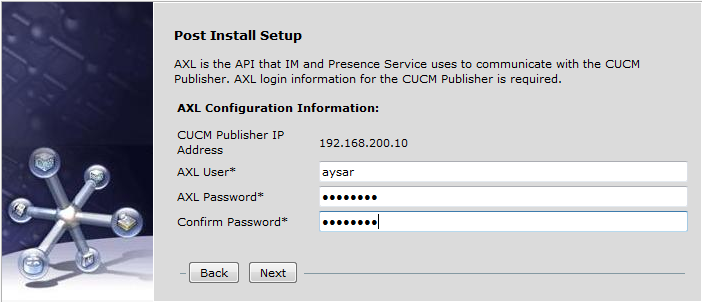
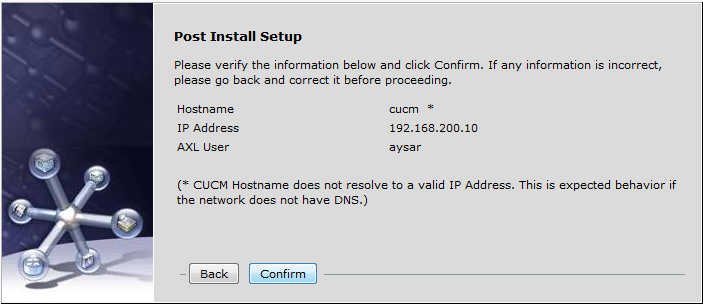
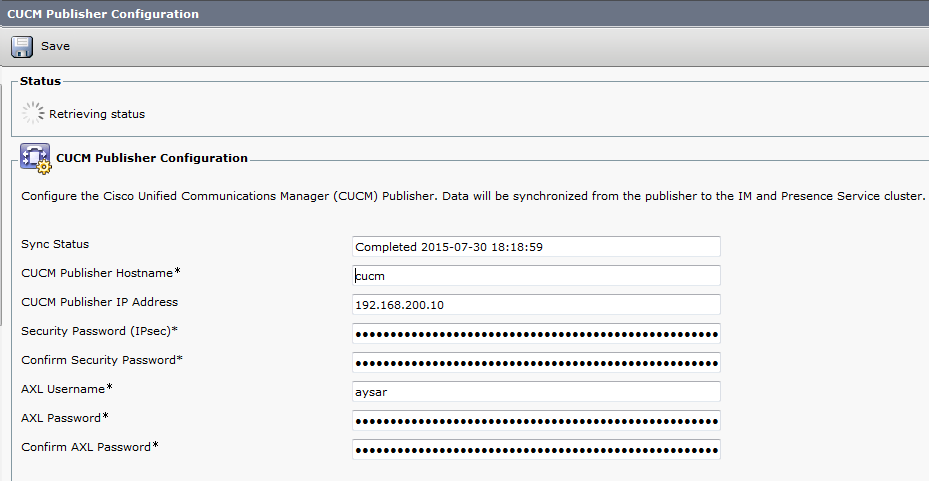
Put the CUCM name and IP Address and put the username and password for AXL Admin


Then put the security password for the CUCM Cluster dirung cucm installation

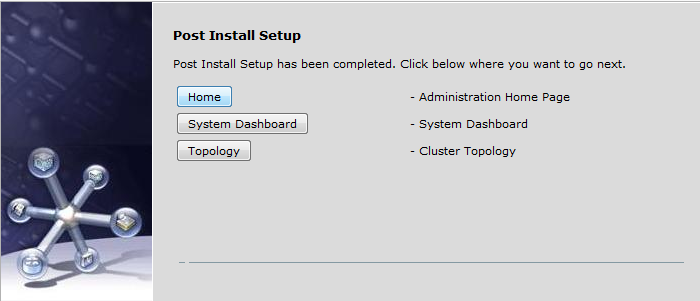
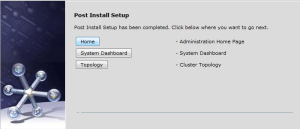
Now press the Home Button so you can go to the Home Page of the Server and like that the initial setup is done
First Step to activate the service of the Server
go to Cisco Unified IM and Presence Serviceability in the right corner
Tools – Service Activation

Activate all services
Second we go back to the Administration Page
and we need to change the Name of the Server to an IP plus Change the Domain Name
we need to stop 3 Services Before changing the Domain Name
1- Cisco Presence Engine
2- Cisco SIP Proxy
3- Cisco XCP Router


Now we Change the Domain NameSystem – Cluster Topology – Settings
Change the IM and Presence Domain

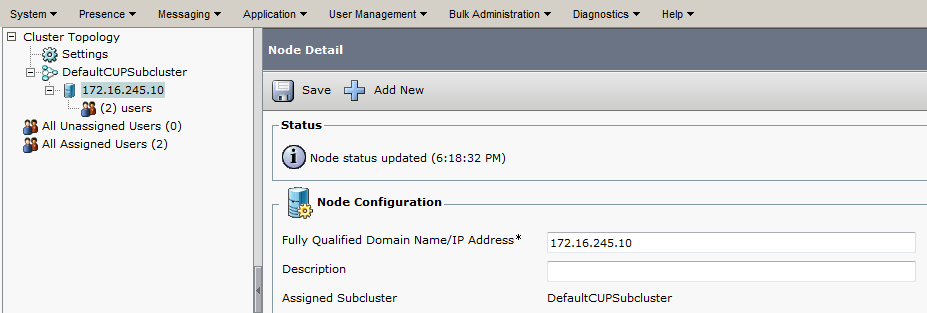
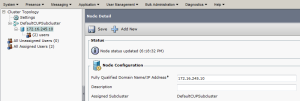
Now Change the IM Name to an IP Address
System – Cluster Topology – DefaultCUPSubcluster – im (which is the name)
Change the Fully Qualified Domain Name/IP Address Filed
Now Add A Gateway which is the CUCM Publisher
Presence – Gateway

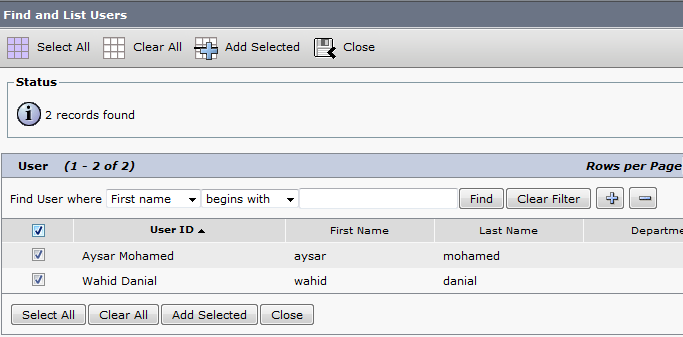
Now Create the CCMCIP Profile and Add User to it
Application – Legacy Client – CCMCIP Profile


Make Sure the Connectivity Between CUCM & IM is working Fine
System – CUCM Publisher


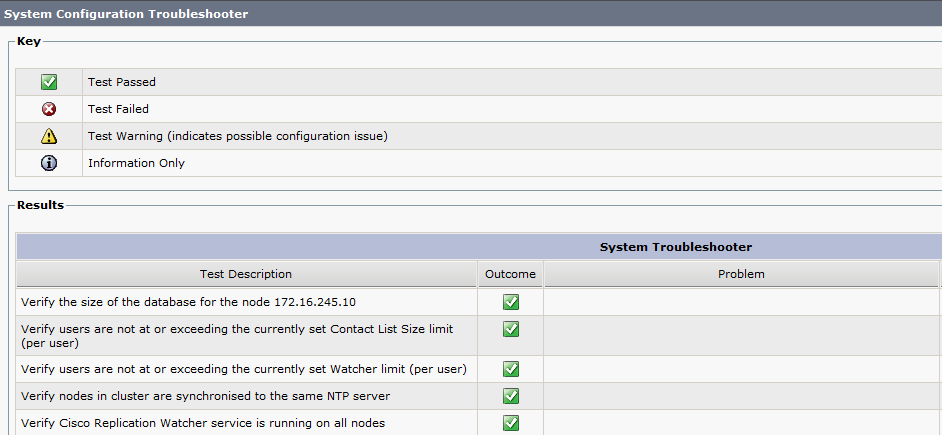
To Check Everything Else also
Diagnostics – System Troubleshooter

if you find any red or alarm it provide you by a solution too
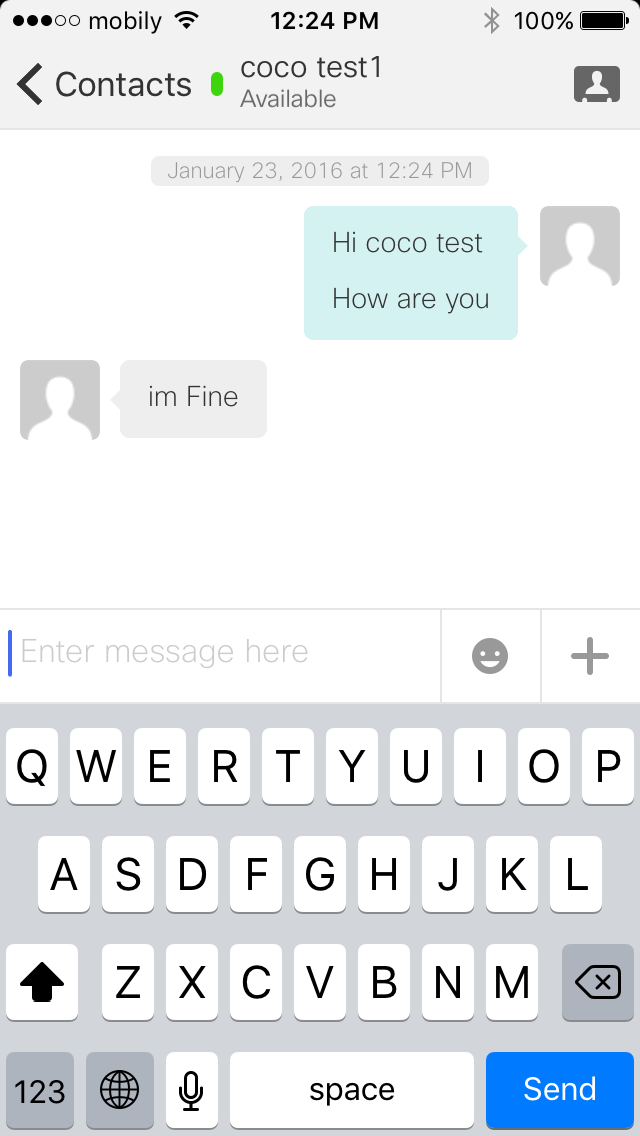
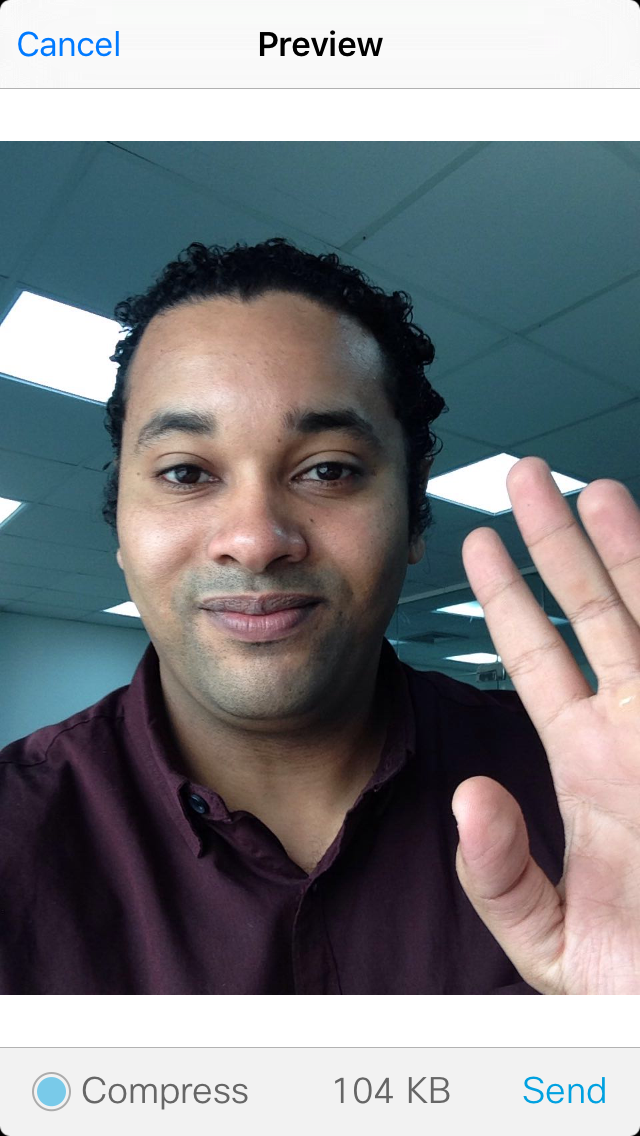
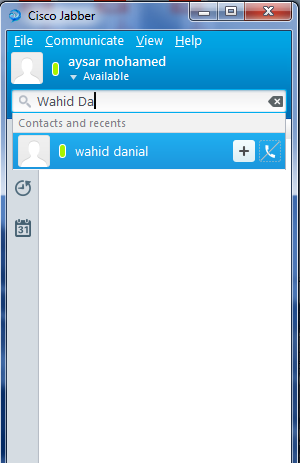
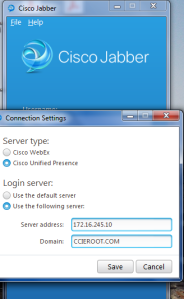
Now all this finish need to check by turn jabber on
Enter the IP Address of IM Server and the Domain Name


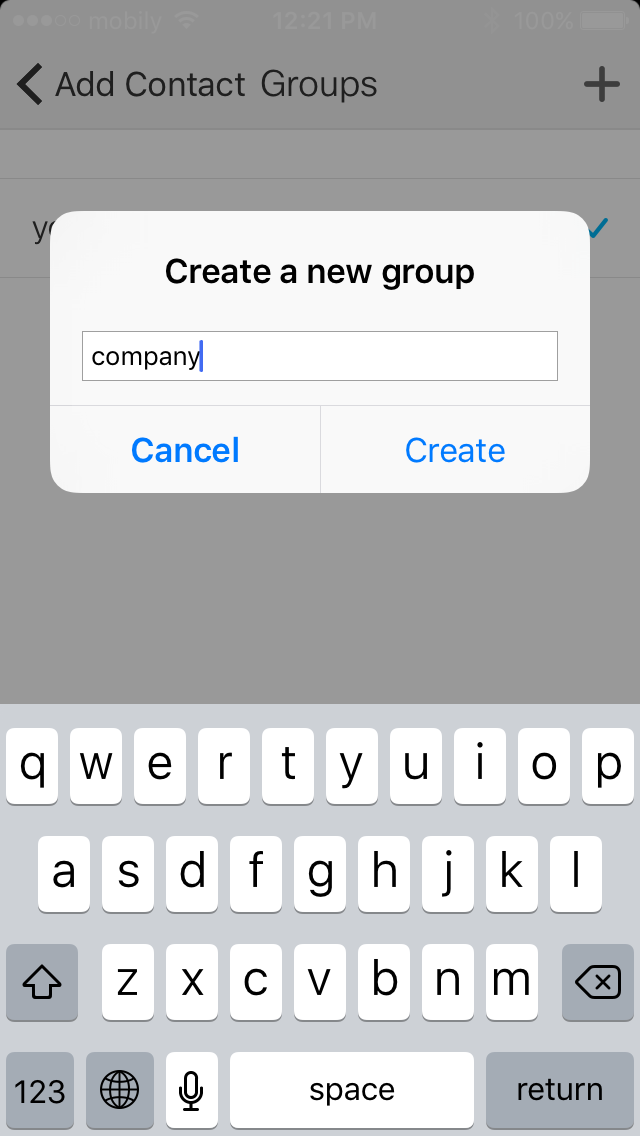
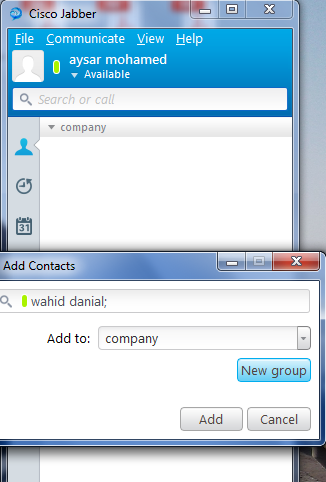
To Add Someone i need to type their names and Add them to a Group


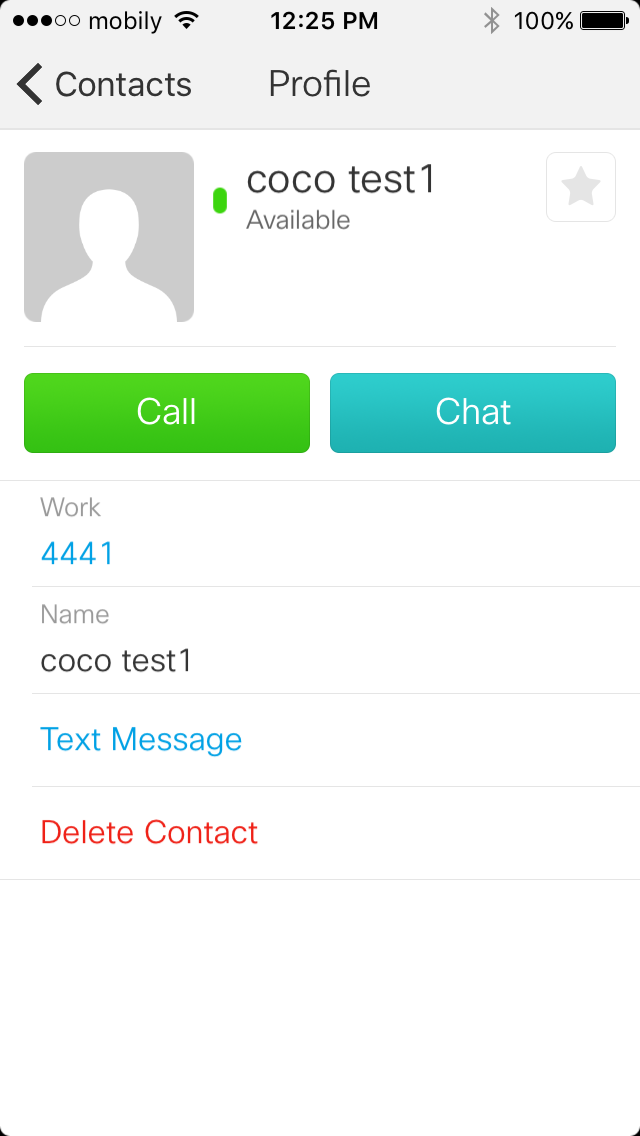
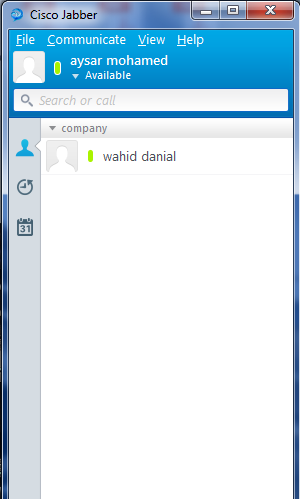
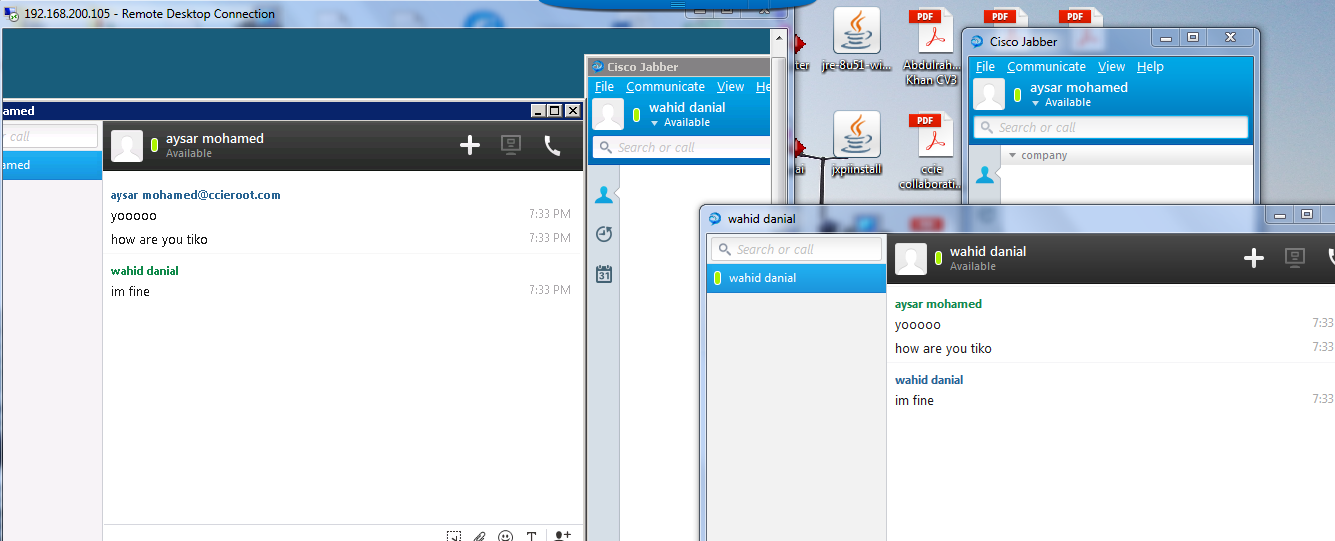
Now i Can Chat with my Friend Wahid Danial and Video Call him


Note. The Second Video is not working Because the second labtob has no Cam beside Wahid is a Shy Person ;D

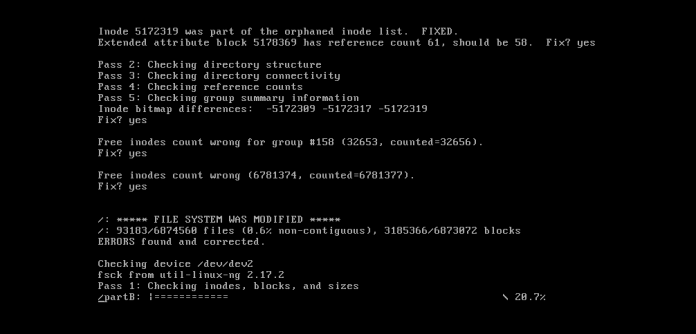
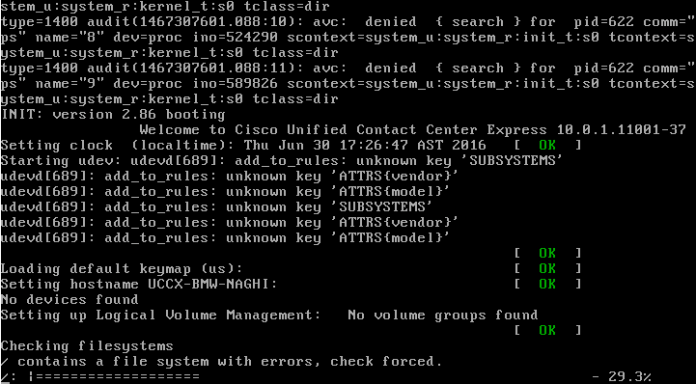 this error message appears regarding inconsistencies in the file system:


 Choose option F, and respond YES. This will check and correct the file system automatically.
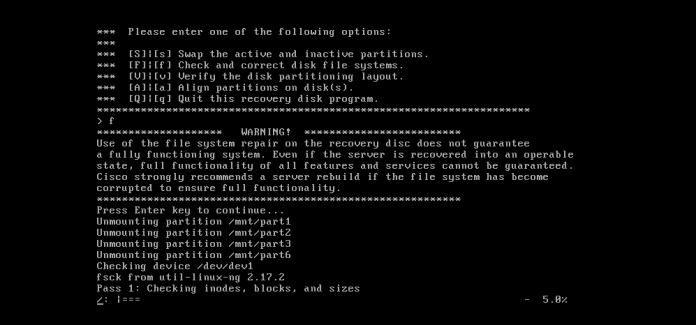


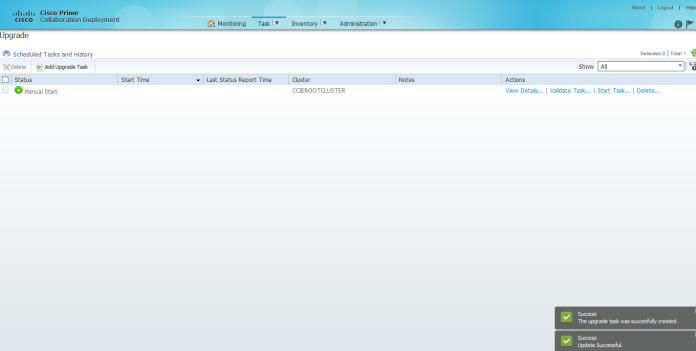
 Choose to Start Task Manually or Schedule and Choose Automatically Switch to the new Version After Successful upgrade
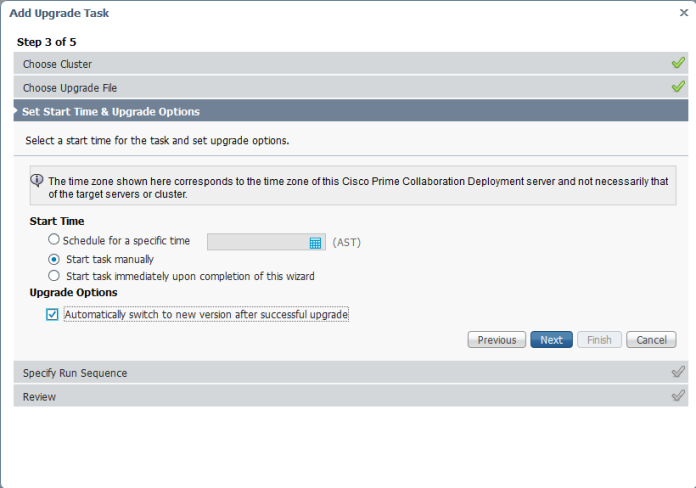


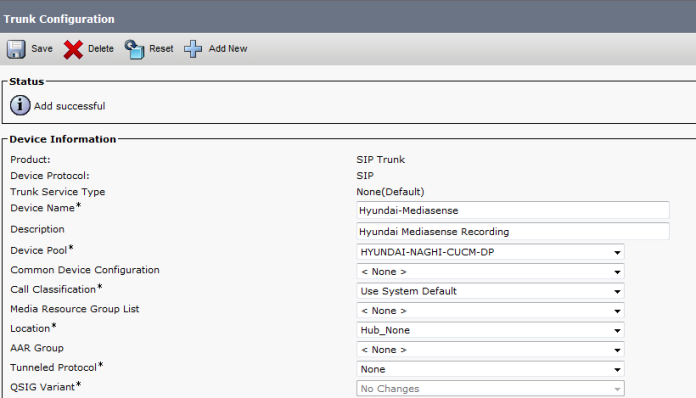
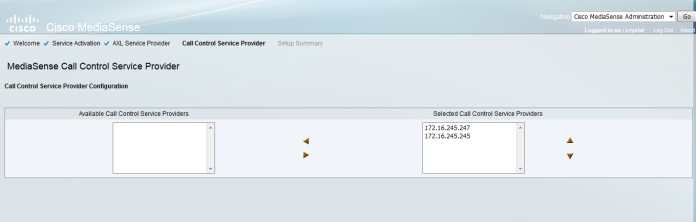
 Second Create a record profile I give it Destination address


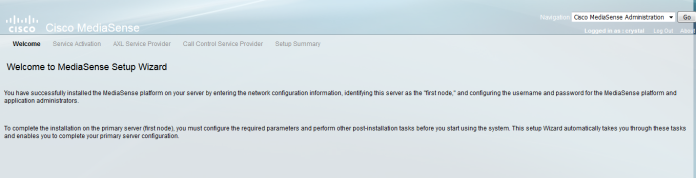
 Now Let’s start from the Media Sense Setup Wizard


 Choose the Network Adapter
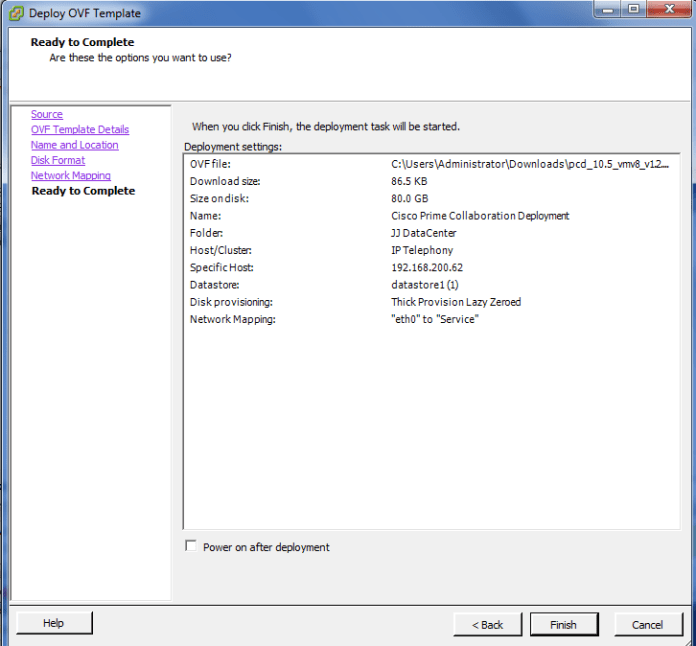


 Press Ok to start the Installation
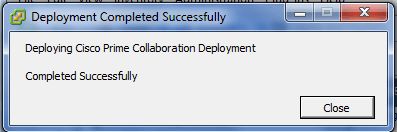
 and the Installation Complete Successfully


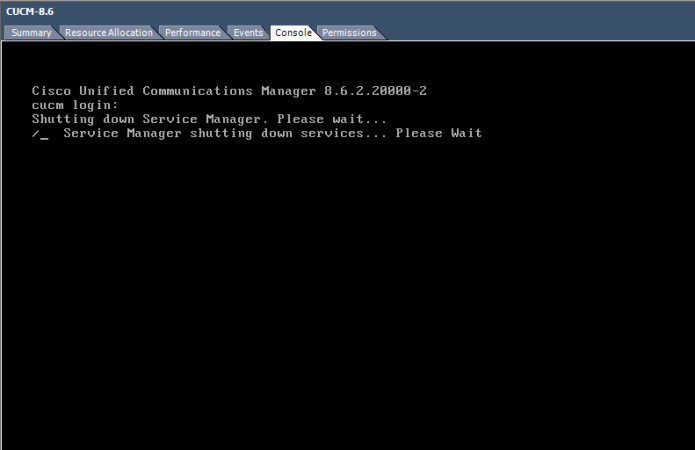
 After it finish the system will Reboot and Walla your CUCM Reach the 9 ;D